Beautiful Soles
Feet Photography Tutorial: Angles, Focus and Light
By Eva · Published 8 September 2026 · Updated 8 September 2026 · 5 min read
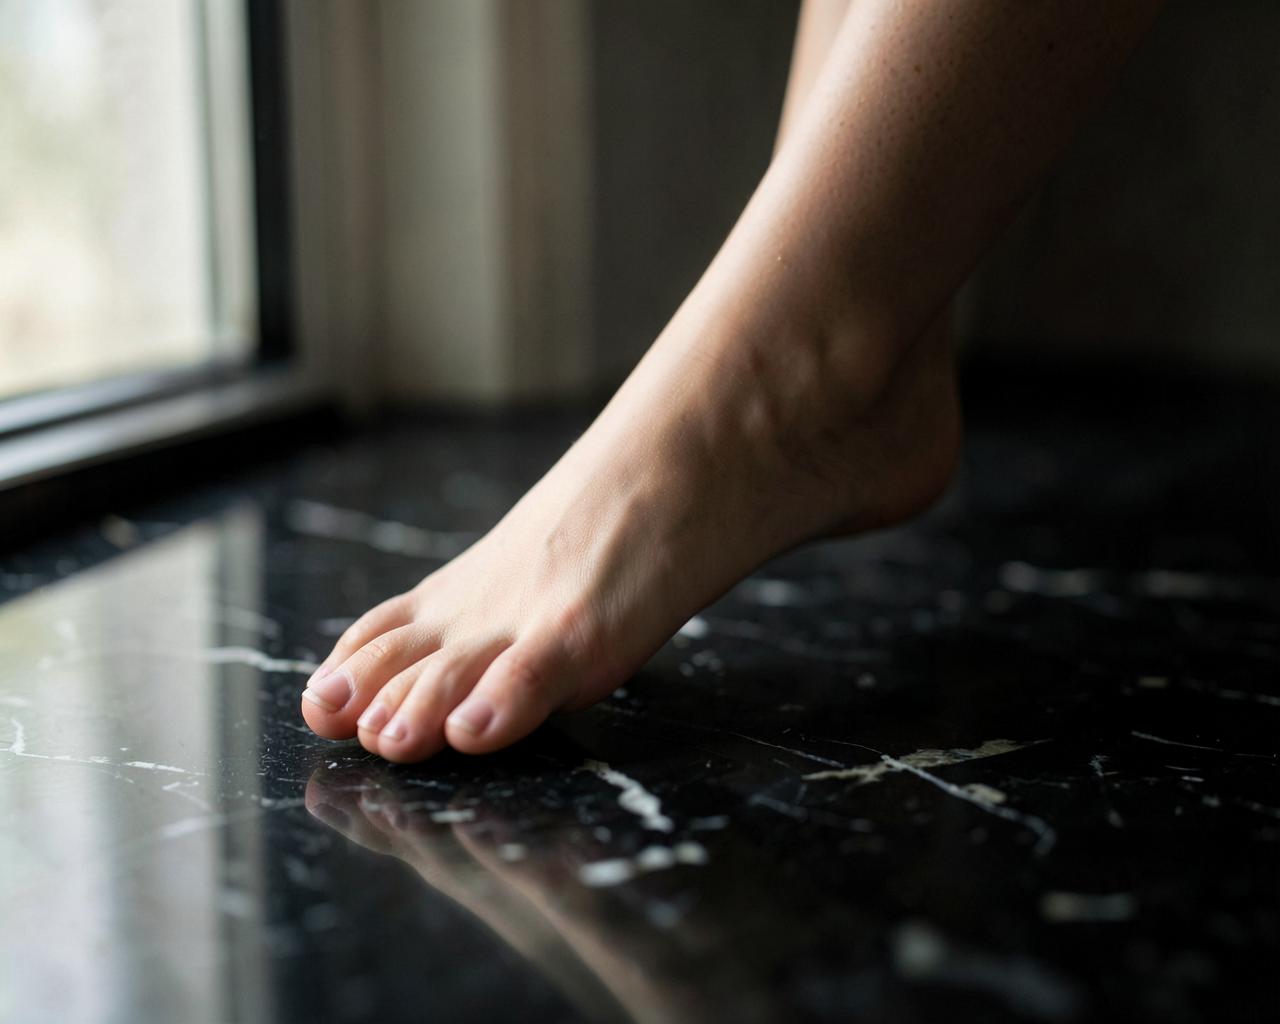
A bare foot is the hardest thing in this journal to photograph well, because nothing hides a mistake: no lacquer to distract, no shoe to give structure, no fabric to carry the light. Everything rests on three technical decisions — where the camera sits, where the focus lands, and how the light meets the skin. This tutorial is the practical companion to my pillar essay on barefoot elegance: fewer feelings, more numbers. Follow it once with a phone or a camera and the difference between the frames you keep and the frames you delete will be immediate.
Motion study
Camera height for feet photography: the first decision
Put the camera at the height of the object, not at the height of your eyes. For a foot resting on the floor, that means the lens sits between five and fifteen centimetres from the ground — a small tripod, a folded towel, or a stack of books. Shooting down from standing height compresses the arch and shortens the foot, which is exactly the look you are trying to avoid.
The second variable is distance. Too close and a wide phone lens distorts the toes into something bulbous; too far and the foot becomes a small shape in a large room. The reliable window is between forty and eighty centimetres with a phone, and one to one and a half metres with a 50mm or 85mm lens. If your camera offers a 2x telephoto, use it: longer focal lengths flatter feet the way they flatter faces.
Finally, decide whether the floor line is in the frame. A visible horizon of skirting board or rug edge grounds the image; cropping it out makes the foot abstract. Both work. Choosing deliberately is what separates a composition from a snapshot.
Four feet photography angles that always flatter an arch
The profile. Camera at floor level, exactly side-on, heel raised and toes pointed. This is the classic line — the arch reads as one continuous curve from ankle to toe, and it is the single most elegant frame available to anyone photographing feet.
The three-quarter. Rotate roughly thirty degrees toward the toes. You keep most of the arch but gain depth: the toes step back in space, the instep catches the light, and the image feels three-dimensional rather than graphic.
The over-the-instep. Camera slightly above and in front, foot pointed toward the lens. Handled carelessly this angle shortens the foot; handled with a long focal length and a raised heel, it becomes the most intimate frame of the four.
The sole, framed high. Feet crossed at the ankle, soles turned toward the camera, cropped at mid-calf. Non-explicit and entirely about texture — this is where the pedicure and the skin condition are judged, so it rewards preparation more than any other angle.
Focus point and aperture: settings for sharp feet pictures
Focus on the ball of the foot, not the toes and not the ankle. It is the point a viewer's eye reaches first and the one that must be unambiguously sharp. On a phone, tap it and hold to lock exposure and focus together before you move into the pose; on a camera, use a single small AF point rather than face or subject tracking, which has no idea what a foot is.
Aperture is a compromise. Wide open — f/1.8 or f/2 — the blur is beautiful but the plane of sharpness is a couple of centimetres deep, and a pointed foot is far deeper than that. My working range is f/4 to f/5.6 for a whole foot and f/2.8 for a detail of toes or an ankle. On a phone, portrait mode approximates this, but check the edges: it habitually blurs a heel it mistook for background.
Shutter speed is the quiet failure. Feet tremble when held pointed, especially at the end of a session. Stay above 1/125s, raise the ISO without guilt — grain is part of this aesthetic — and shoot four frames per pose so one lands between two micro-movements.
Window light: lighting barefoot pictures so skin reads as satin
Skin has two enemies: flat frontal light, which erases the arch entirely, and hard direct sun, which turns the instep into a patch of white with no detail. What you want is a single soft source at roughly ninety degrees to the foot — a window on the side — so the light travels across the skin and models every curve.
A white towel, a sheet of paper, or a pale wall placed on the opposite side works as a reflector and opens the shadow just enough to keep the sole readable. Move it centimetre by centimetre while watching the screen; the difference between a heavy shadow and a soft one is often ten centimetres of white card.
A light film of oil or moisturiser on the instep gives the satin sheen this journal is known for, but apply it twenty minutes before the session and blot it. Freshly applied oil photographs as shine, and shine is the one texture that flattens a foot as reliably as bad light.
A twenty-minute practice sequence for photographing your feet
Set the scene: one surface, one window, camera low, phone or camera locked to a fixed focal length. Warm up with five frames of a relaxed foot before attempting any pose — cold, tense feet photograph as cold, tense feet.
Then run the four angles in order, four frames each: profile, three-quarter, over-the-instep, sole. Between each angle, change only one thing — the heel height, the spread of the toes, the tilt of the ankle. Sixteen frames, one variable at a time, is how you learn what your own foot does under light.
Review the set the next morning, not the same evening. Keep two. Note what the two keepers have in common — angle, aperture, time of day — and start there next time. That notebook, kept for a few months, is worth more than any equipment upgrade.
Detail plates
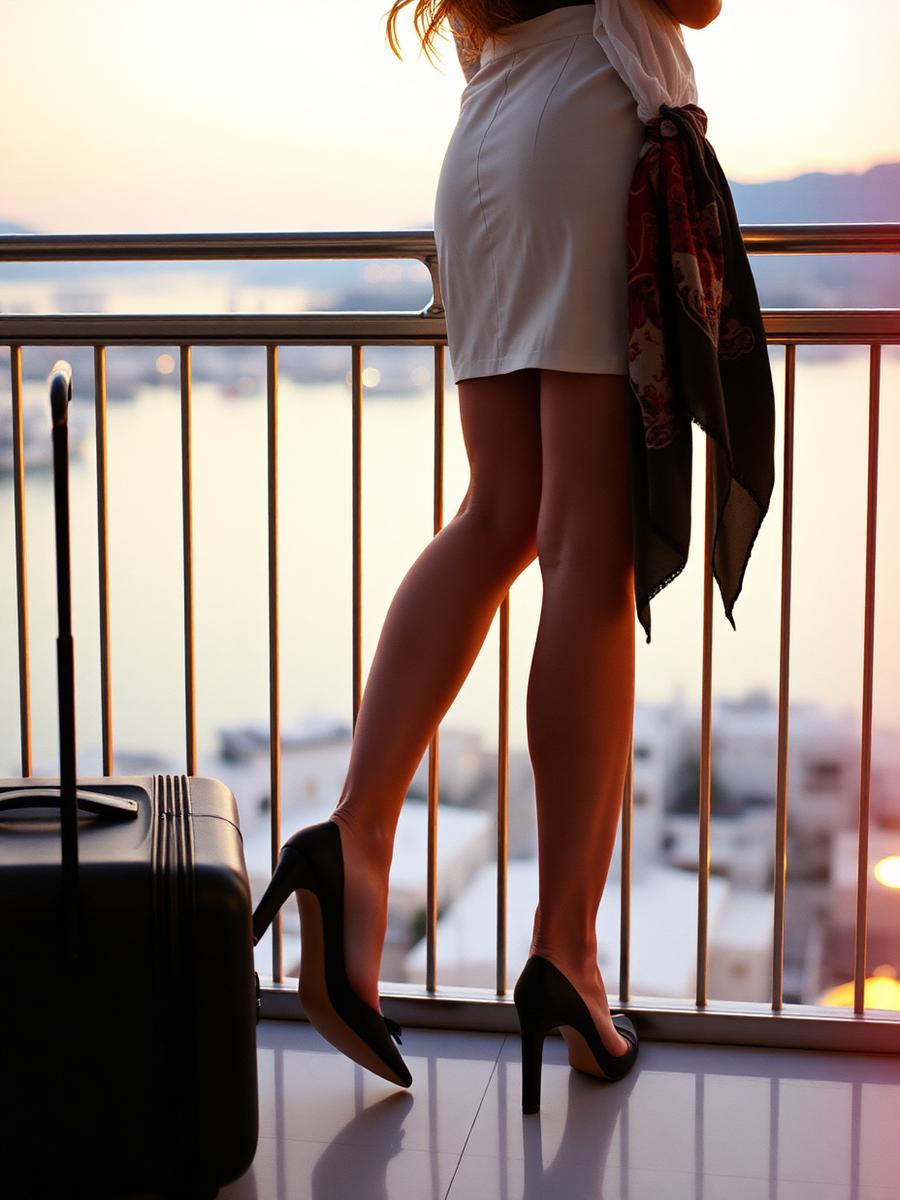
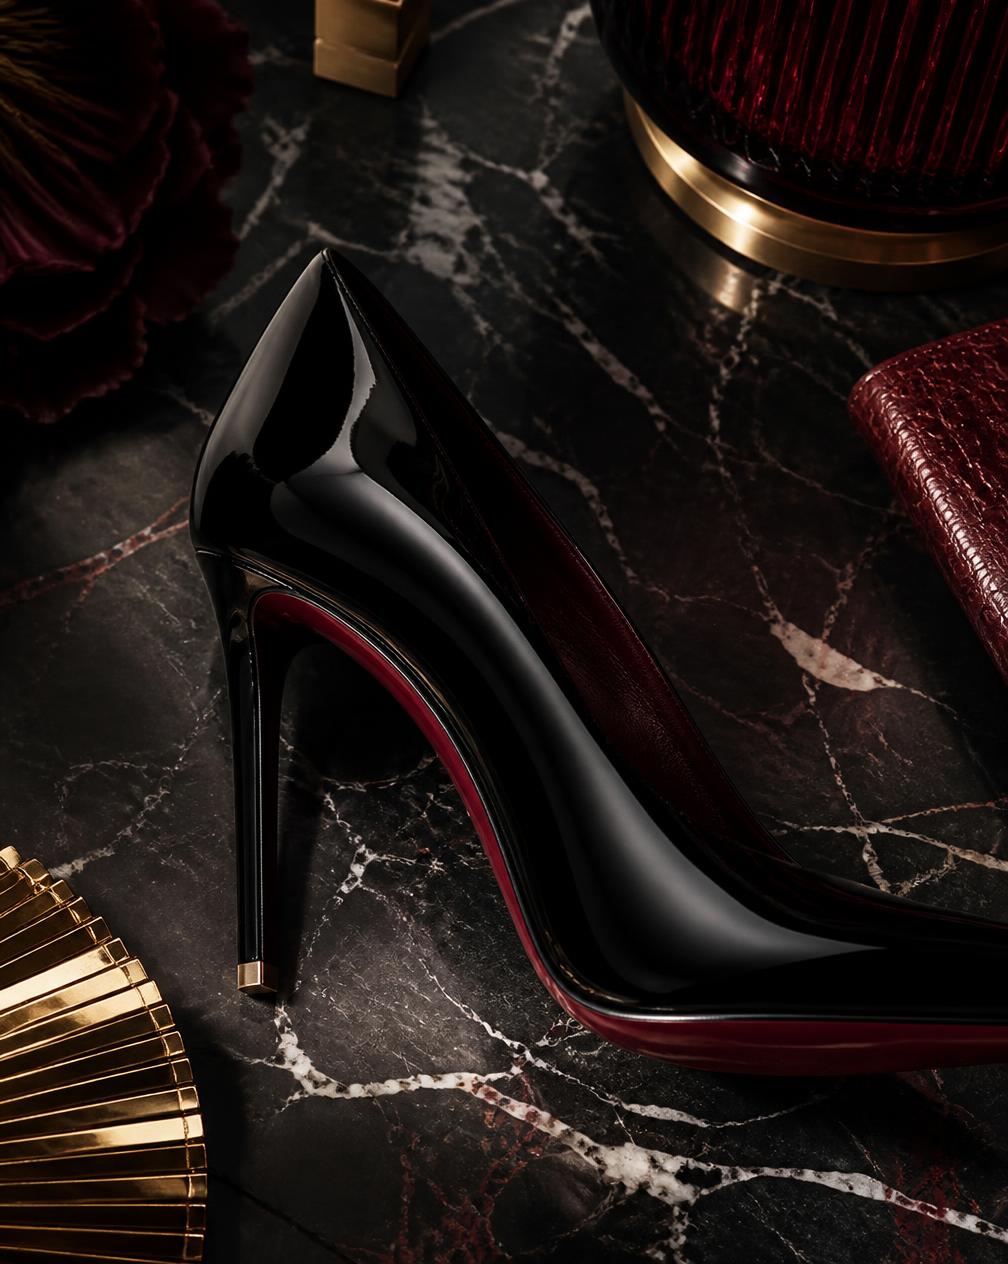
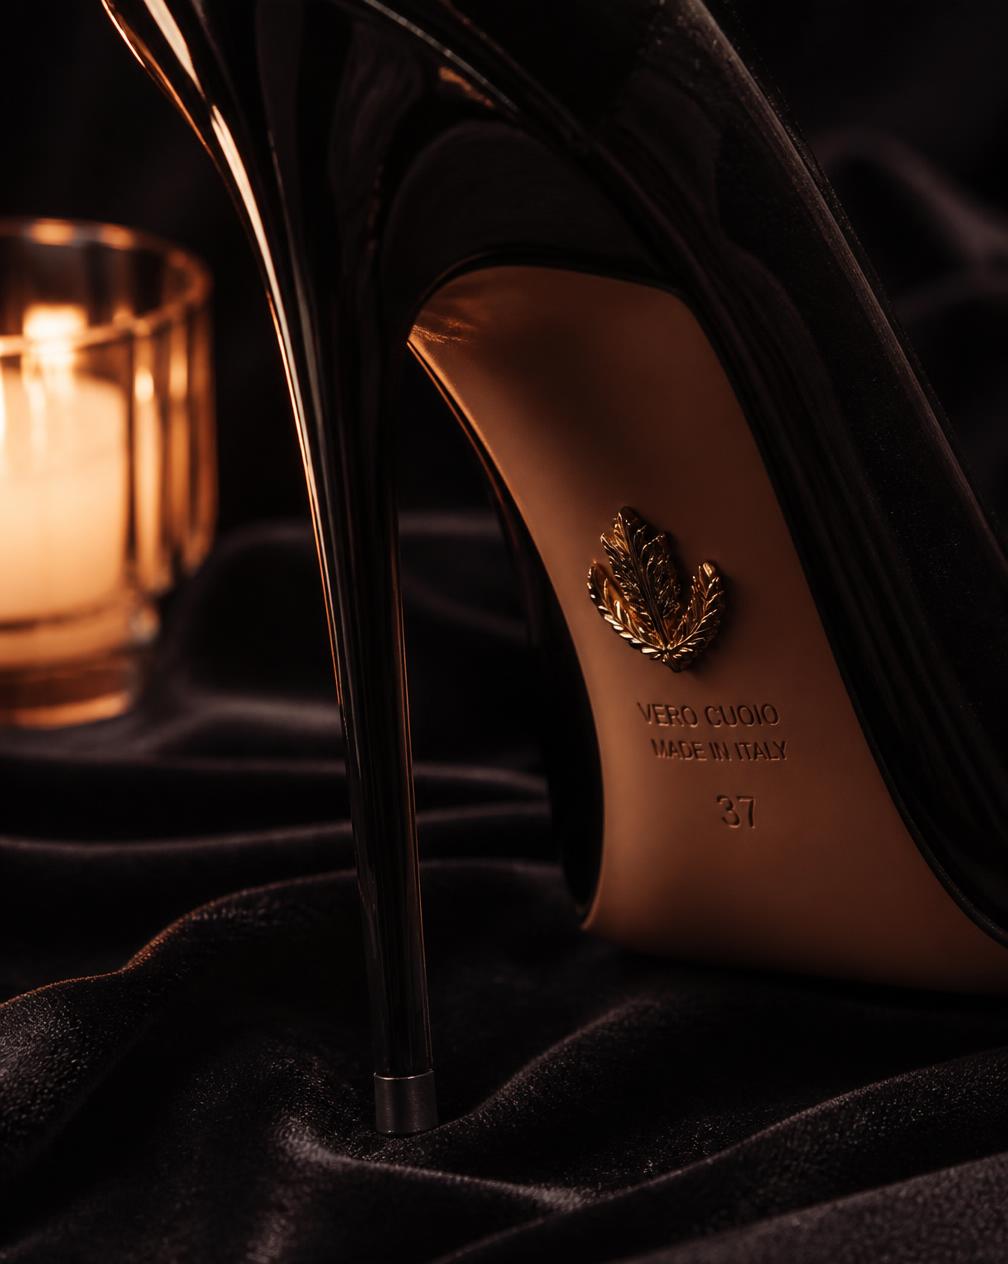
Watermark-free previews, published without metadata.
Questions readers ask
- What is the best angle for barefoot photography?
- A floor-level profile with the heel raised and toes pointed. It shows the arch as one continuous curve and is the most consistently flattering frame.
- Which aperture should I use for feet photography?
- Between f/4 and f/5.6 for a whole foot, and around f/2.8 for a close detail. Wider apertures leave part of a pointed foot outside the plane of focus.
- Can I get good results with a phone?
- Yes. Use the 2x telephoto if available, tap and hold on the ball of the foot to lock focus and exposure, and shoot beside a window rather than under a ceiling light.
See more of Eva
Discover Eva's private collection
18+ — My private spaces are reserved for adults. The public part of this site contains no nudity and no sexually explicit content.
By Eva
Eva, 38, secretary, petite and naturally feminine. Passionate about refined pedicures, high heels, nylon and tasteful photography. Personal attention, custom content and a discreet private journey.
About EvaContinue reading
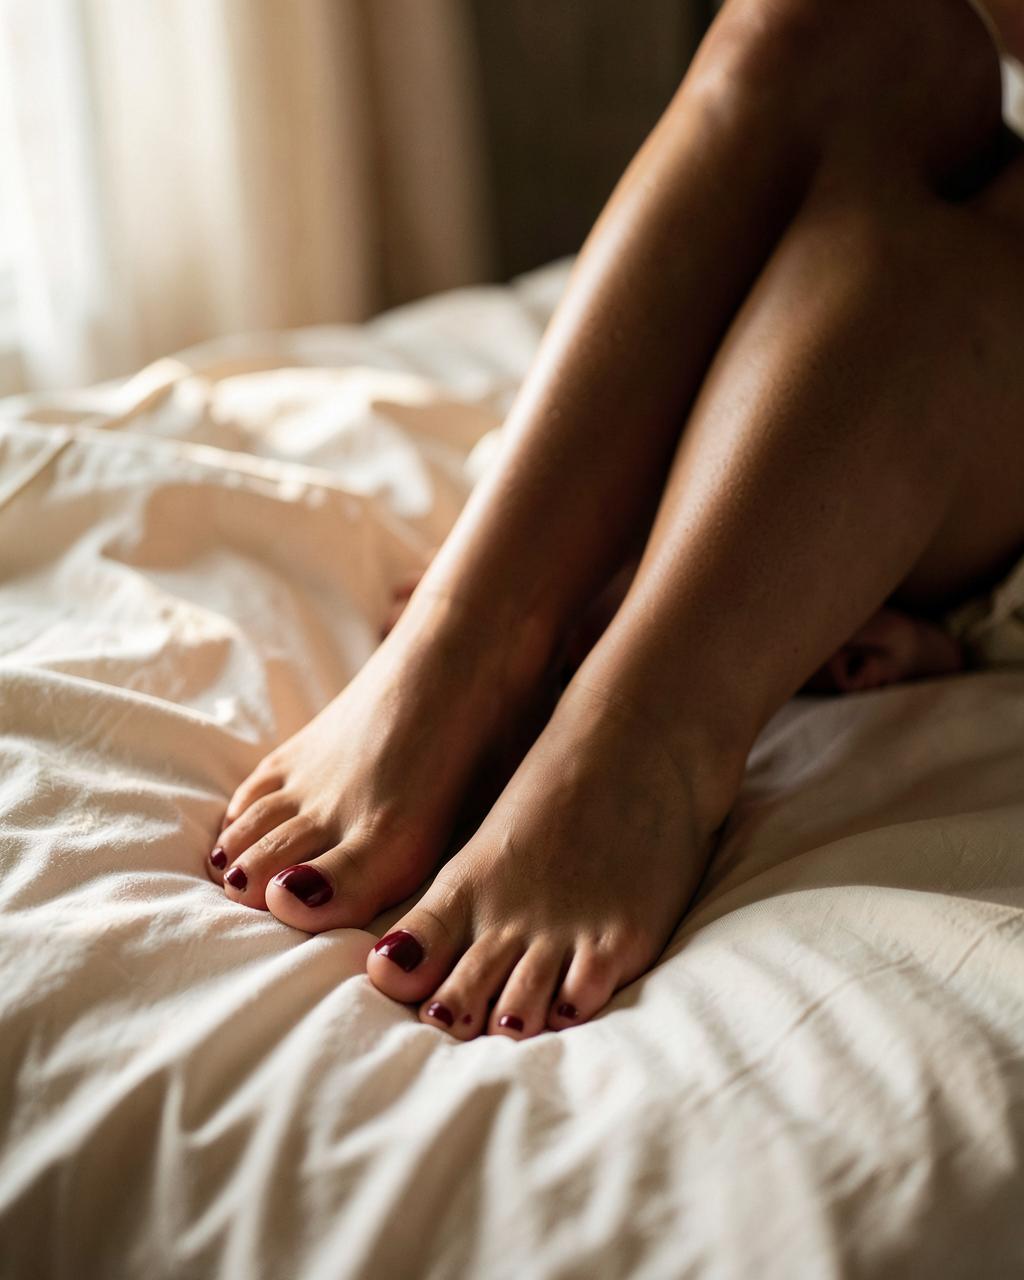
Barefoot Elegance: The Language of Uncovered Feet

Feet Photography: The Art of Elegant Feet Pics
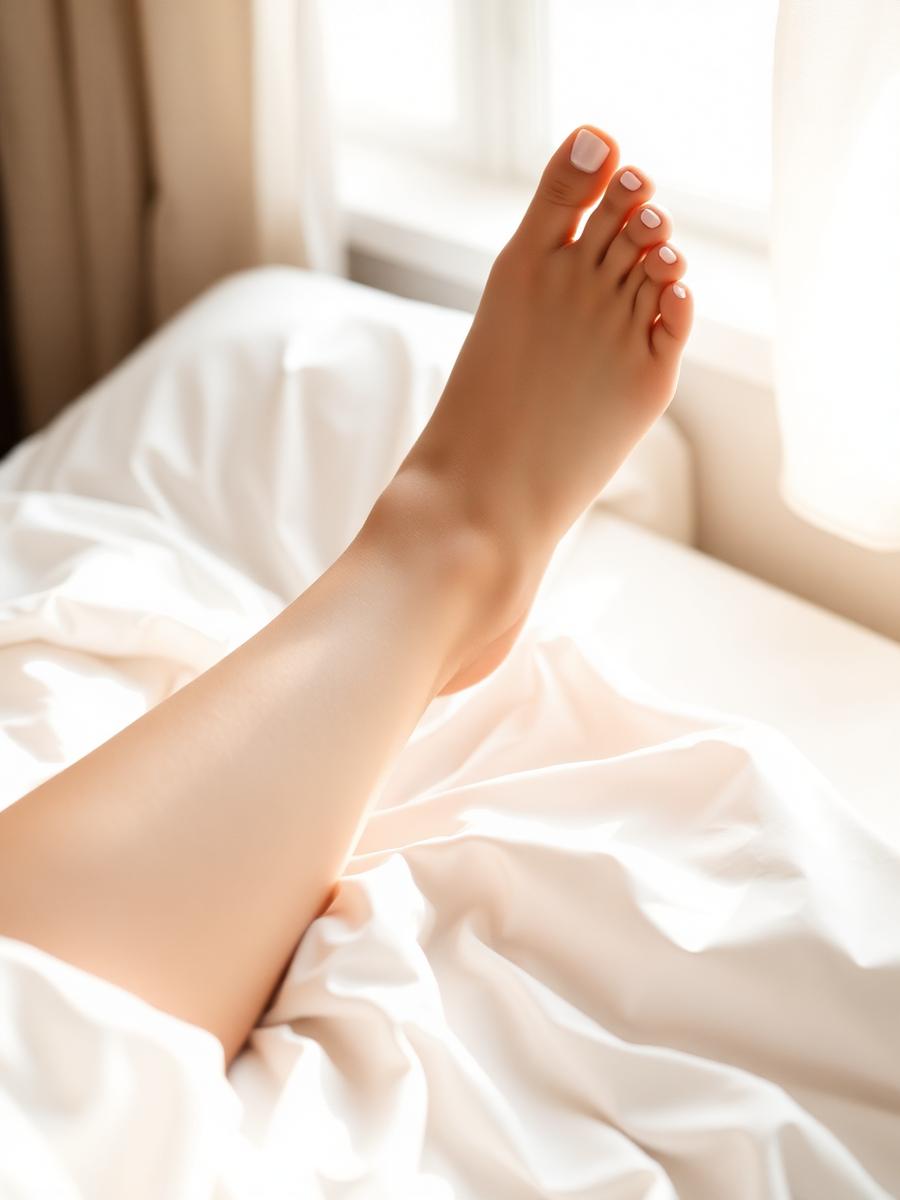
Beautiful Feet Pictures: How to Create Elegant Feet Pics
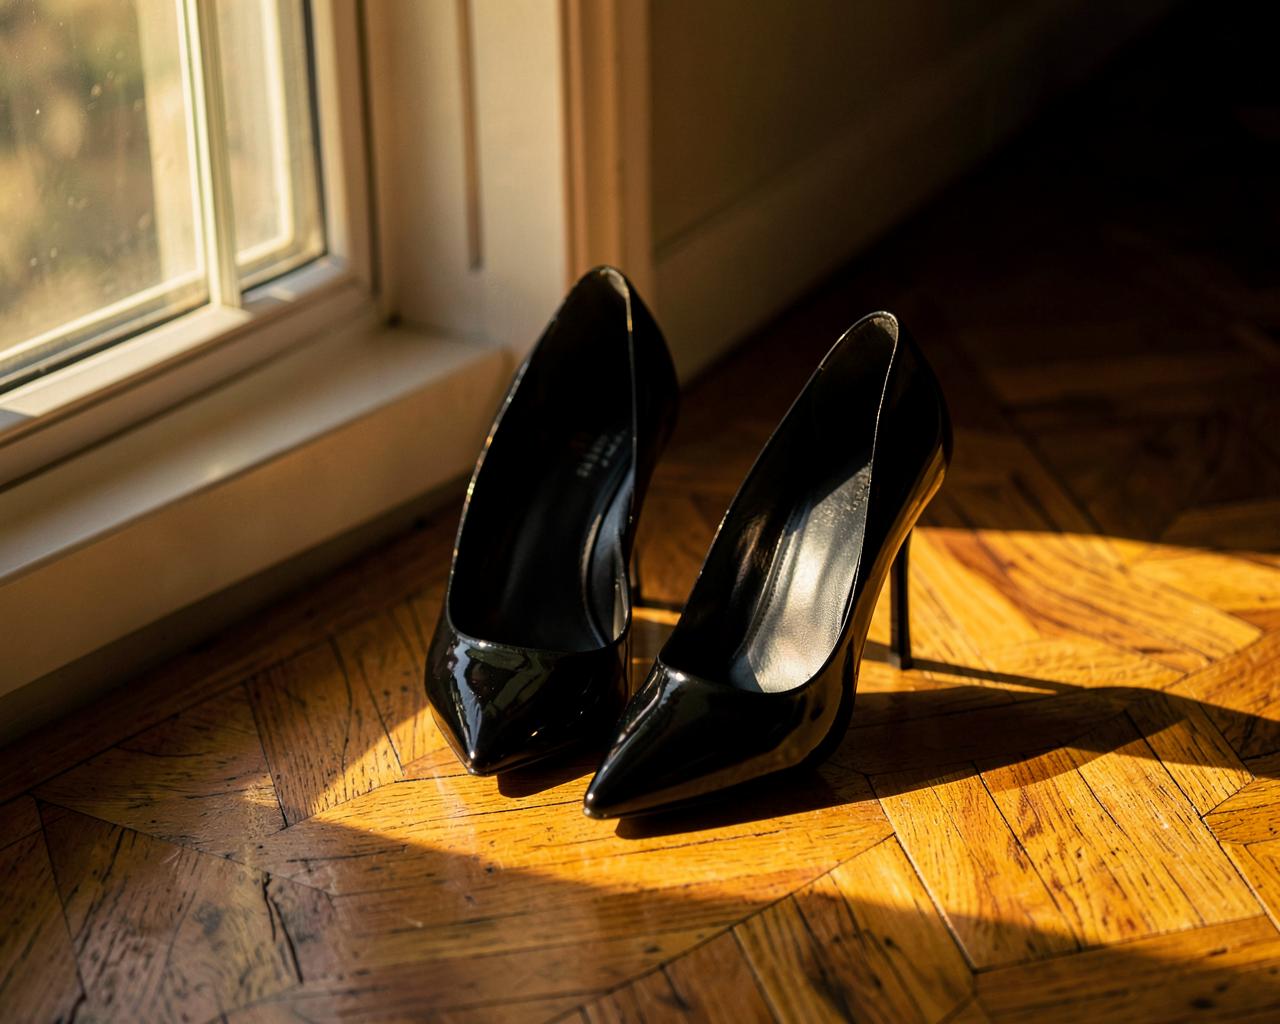
High Heel Feet Photography Tutorial: Six Poses That Work
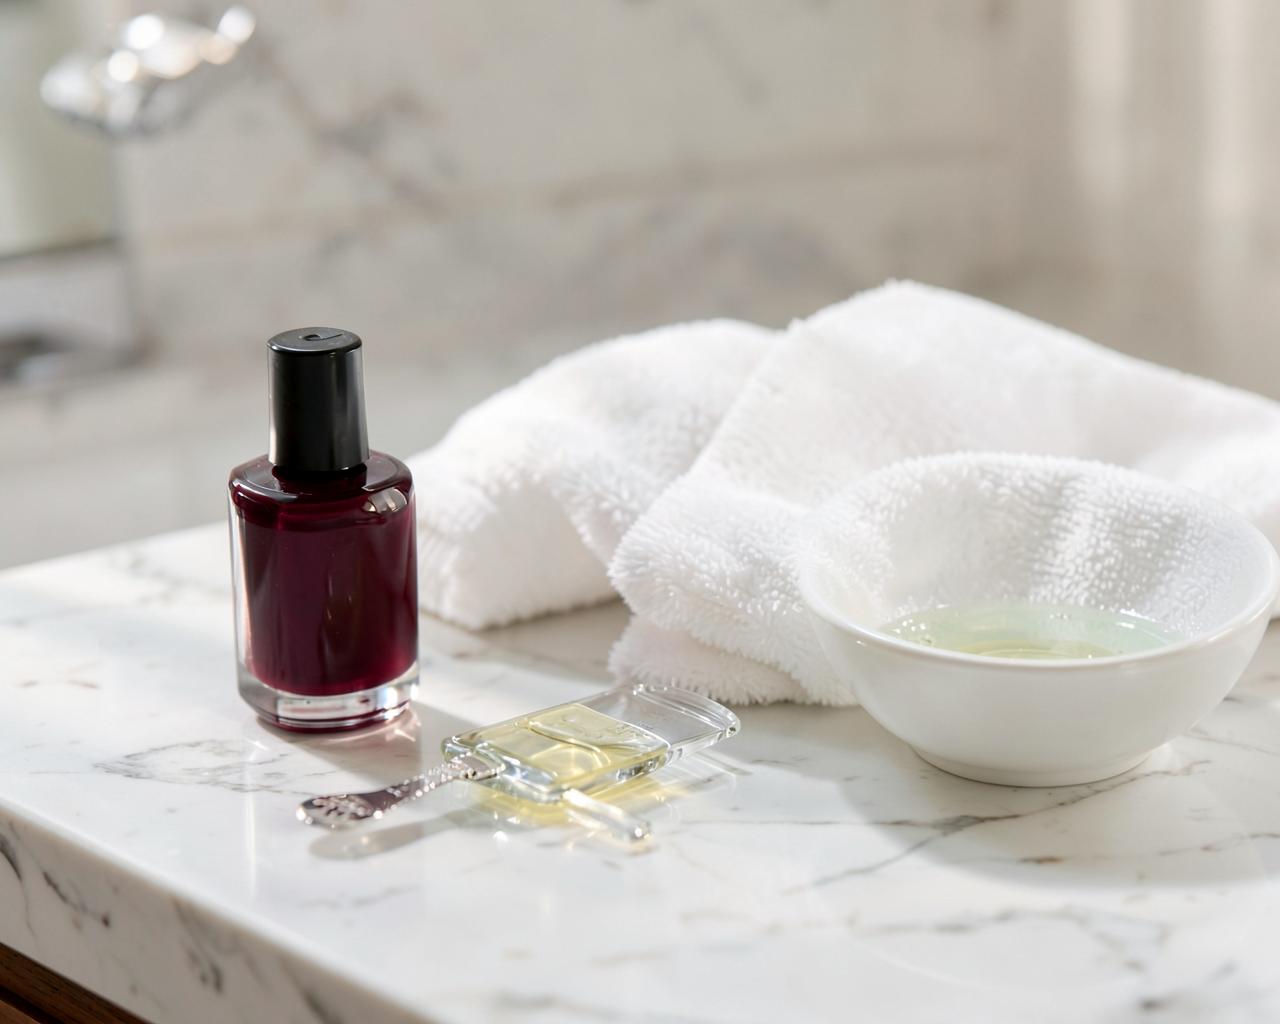
Pedicure Tutorial for Feet Photography: 12 Camera-Ready Steps
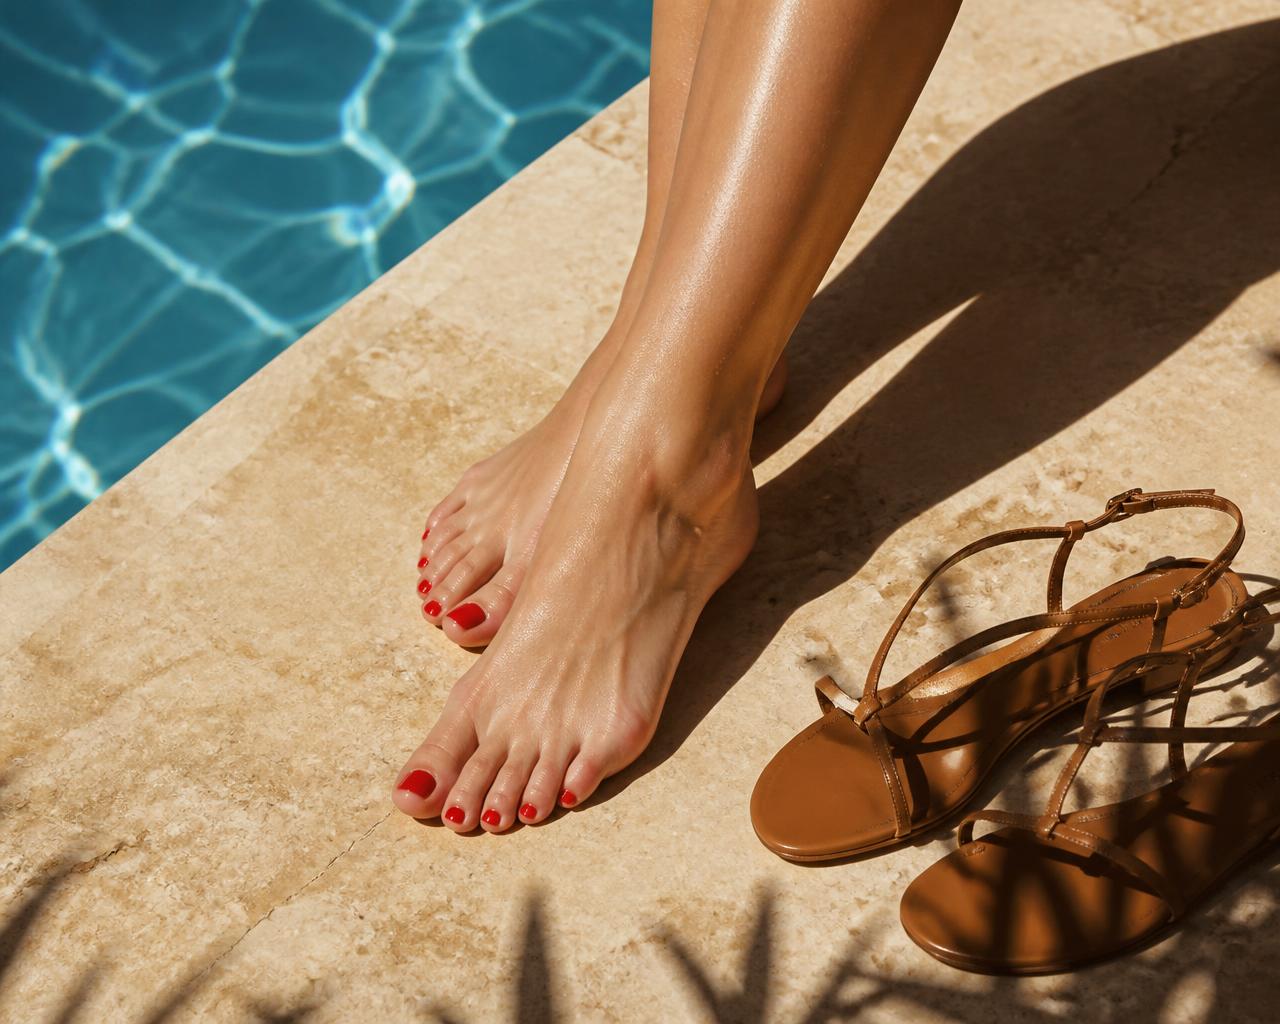
Summer Feet Pictures: Tutorial, Poses and Technical Tips
The private letter
One letter a month: a new story, a behind-the-scenes note and one photograph that never appears on the site.
Adults only. No spam, no sharing of your address, one click to unsubscribe.