Pedicure Rituals
Pedicure Tutorial for Feet Photography: 12 Camera-Ready Steps
By Eva · Published 8 September 2026 · Updated 8 September 2026 · 5 min read
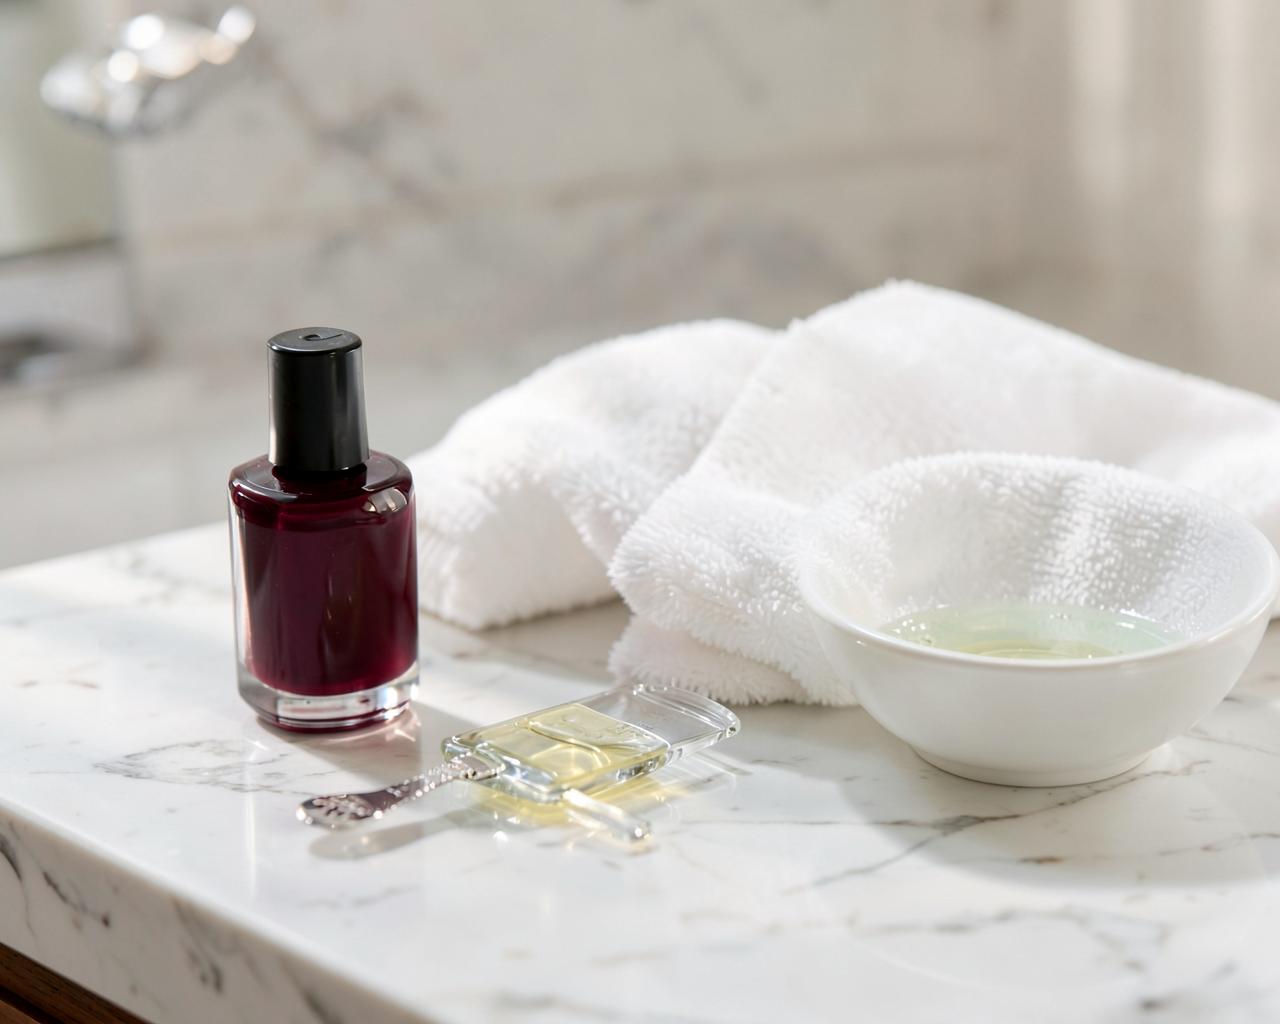
A camera reads a pedicure the way a jeweller reads a setting: it sees the edge of every nail, the state of every cuticle, the single coat that dried unevenly. The good news is that a photographic pedicure is not a talent, it is a checklist — and it takes ninety minutes the evening before, never the morning of. This is the full twelve-step routine I run at home, in order, with the timing that matters. It sits alongside my longer pedicure ritual essay, but where that one explains why, this one simply tells you what to do next.
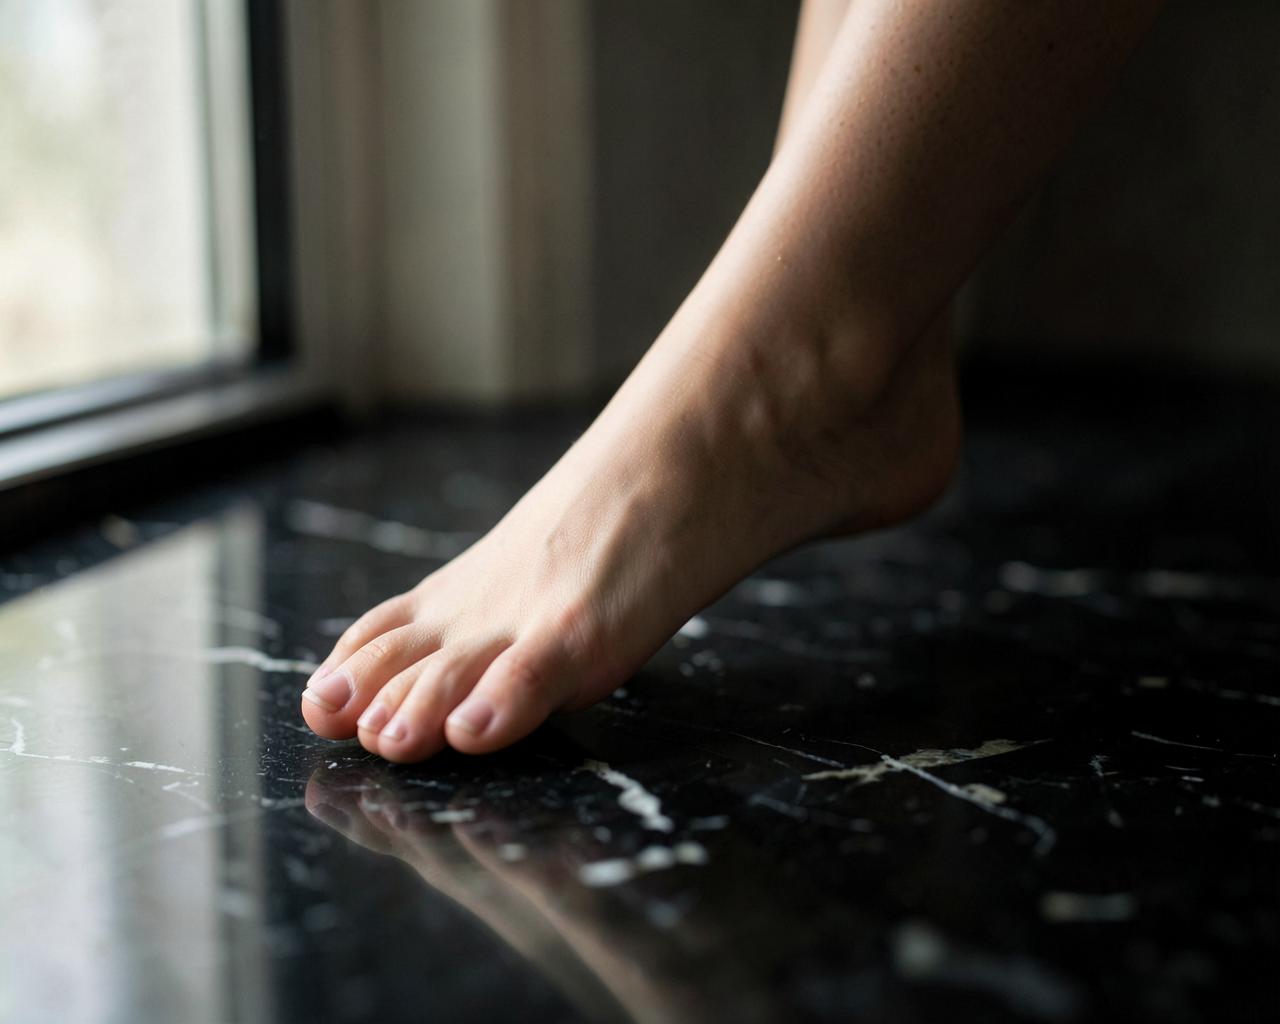
Motion study
Steps 1-4: remove, soak, file and smooth before feet pictures
1. Remove all old lacquer with an acetone-free remover, then wash. Any trace of colour left in a nail groove photographs as a shadow you will spend ten minutes editing out.
2. Soak for ten minutes in warm water with a spoonful of coarse salt and a few drops of oil. Longer than fifteen minutes softens the nail plate too much for filing.
3. File the nails dry, not wet, with a fine glass file, always in one direction. A square-oval shape — straight across with the corners barely rounded — is the most photogenic and the least prone to ingrowth.
4. Smooth the heels and the ball of the foot with a fine foot file while the skin is still slightly damp. Stop early: over-filing creates a matte, floury texture that catches light badly for days.
Steps 5-8: cuticles, hydration and buffing for camera-ready feet
5. Apply cuticle oil, wait two minutes, then push the cuticles back gently with a rubber-tipped stick. Do not cut them. A cut cuticle photographs as a red line at exactly the point the eye lands.
6. Massage a rich cream into the whole foot for five full minutes — the massage matters as much as the cream, because circulation is what gives skin an even tone under light.
7. Buff the nail surface lightly, three passes maximum. The goal is to remove ridges so lacquer lies flat; over-buffing thins the nail and creates a dull patch that no top coat rescues.
8. Clean every nail with a cotton pad and remover before any colour goes on. Cream and oil are the reason a perfect coat lifts at the edge two days later.
Steps 9-12: base, colour and top coat before a feet photography session
9. One thin base coat, edges sealed by running the brush along the free edge of the nail. Wait five minutes.
10. Two thin colour coats with ten minutes between them. Thin is the whole secret: one thick coat photographs as a soft, uneven dome, two thin coats photograph as lacquer. Deep bordeaux, true red and bare nude are the three colours that never fail under warm light; glitter and pastel both misbehave.
11. One top coat, edges sealed again, applied at least eight hours before the session. Same-day lacquer photographs as texture rather than shine.
12. Rest. Bare feet, no socks, no shoes for two hours, and oil on the cuticles only the next morning. Nails finish hardening long after they feel dry.
Shoot day: the last twenty minutes
Twenty minutes before the first frame, wash and dry the feet completely, then apply a light film of oil to the instep only and blot it. Oil on the sole makes it slippery and shiny; oil on the toes gathers around the nails.
Avoid tight shoes and socks for the hour before, because elastic leaves lines across the instep that stay visible in photographs for twenty minutes or more. Slippers or bare feet only.
Keep a cotton bud and remover in the frame's reach. A single smudged edge, corrected in five seconds, saves an image you would otherwise lose to editing.
Detail plates


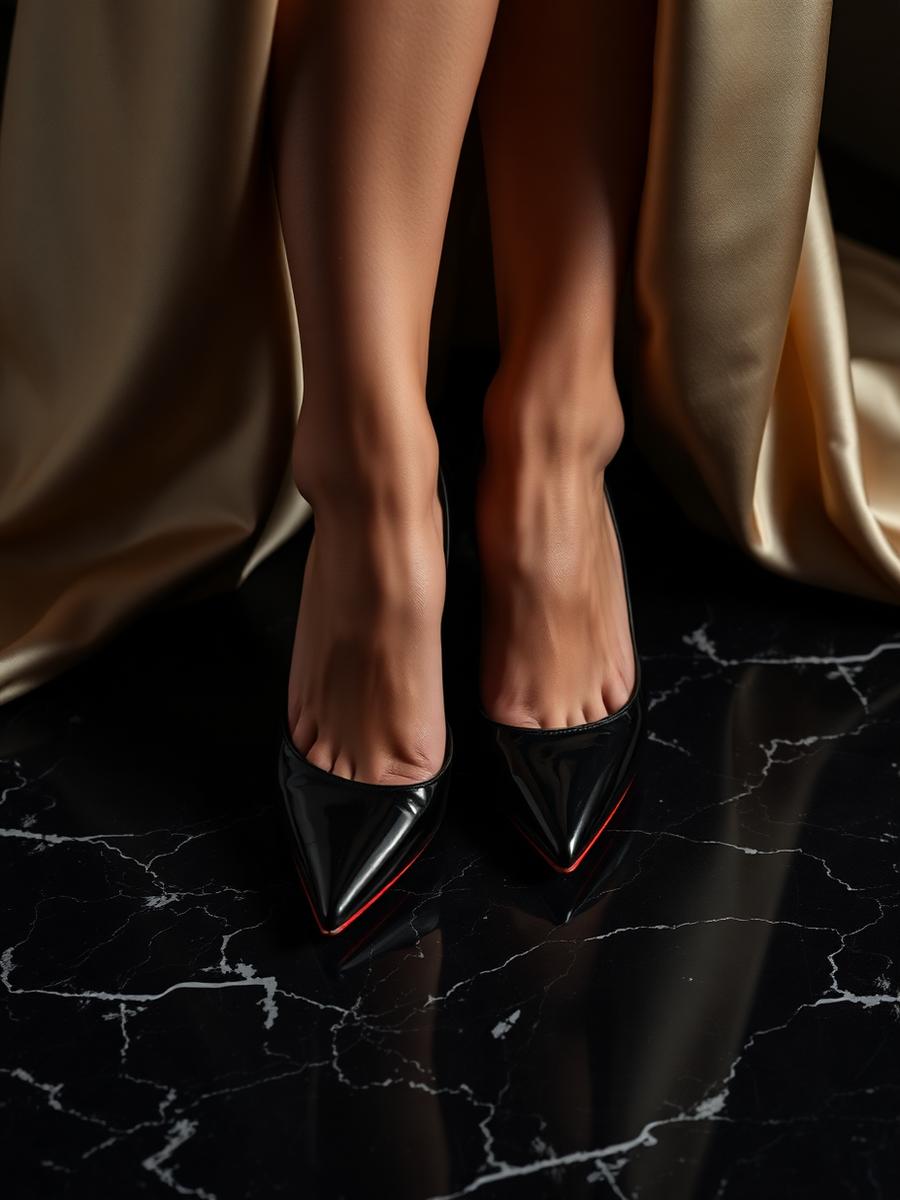
Watermark-free previews, published without metadata.
Questions readers ask
- How long before a photo session should I do a pedicure?
- The evening before, at least eight hours ahead. Lacquer applied the same day still moves under light and photographs as texture rather than gloss.
- Which nail colour photographs best?
- Deep bordeaux, a true red, or a bare nude. All three hold their tone under warm light; glitter scatters highlights and pastels shift colour on camera.
- Should I cut my cuticles?
- No. Oil them and push them back gently. A cut cuticle leaves a red line exactly where the viewer's eye lands in a close frame.
See more of Eva
Discover Eva's private collection
18+ — My private spaces are reserved for adults. The public part of this site contains no nudity and no sexually explicit content.
By Eva
Eva, 38, secretary, petite and naturally feminine. Passionate about refined pedicures, high heels, nylon and tasteful photography. Personal attention, custom content and a discreet private journey.
About EvaContinue reading

The private letter
One letter a month: a new story, a behind-the-scenes note and one photograph that never appears on the site.
Adults only. No spam, no sharing of your address, one click to unsubscribe.