Guides
Beautiful Feet Pictures: How to Create Elegant Feet Pics
By Eva · Published 24 June 2026 · Updated 6 August 2026 · 5 min read
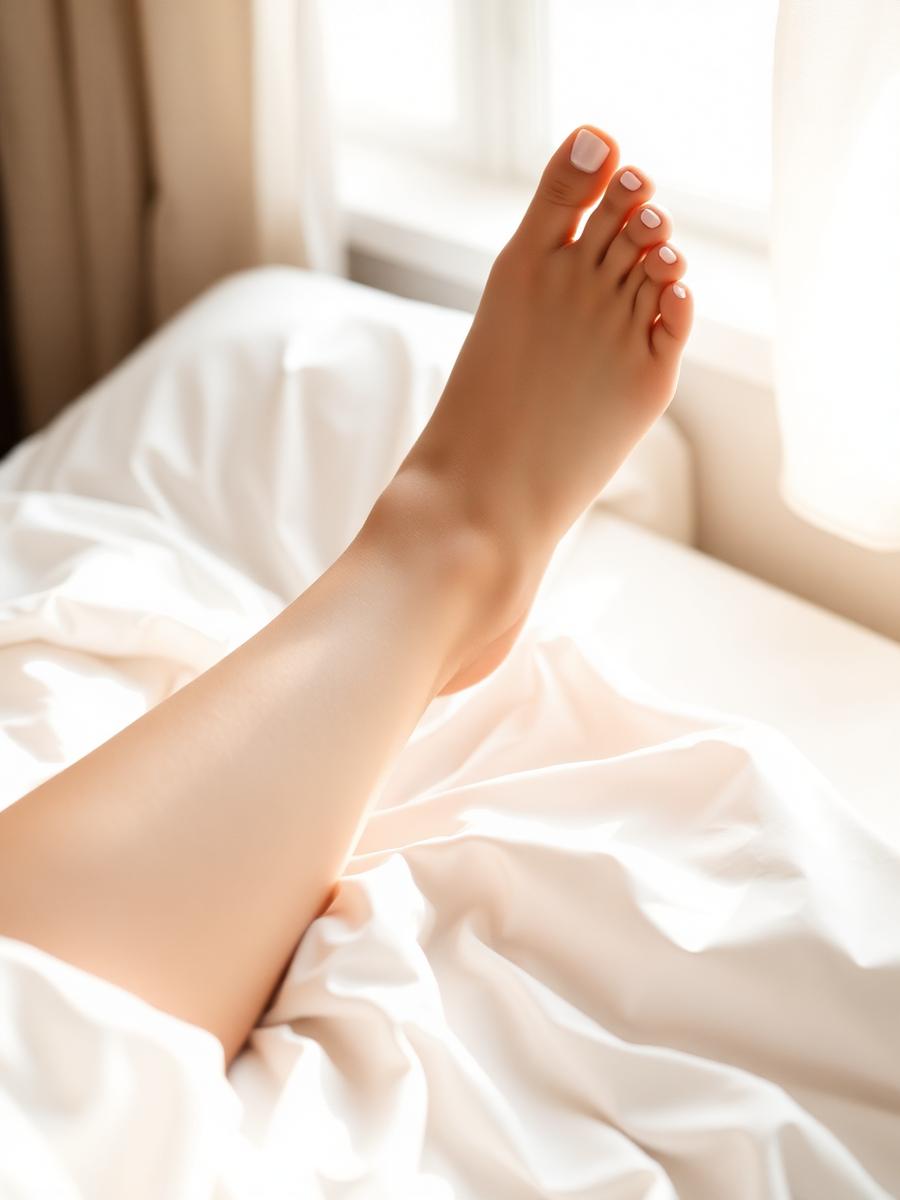
Beautiful feet pictures are almost never improvised. Behind every image that looks effortless there is a short, boring, entirely repeatable routine: skin prepared, nails finished, one surface chosen, one light placed, ten frames shot in a fixed order. This guide is the exact sequence I run before a session, written so that someone photographing their own feet for the first time can follow it end to end in about twenty minutes and come away with two or three photographs worth keeping.
Step one: preparation, the unglamorous half
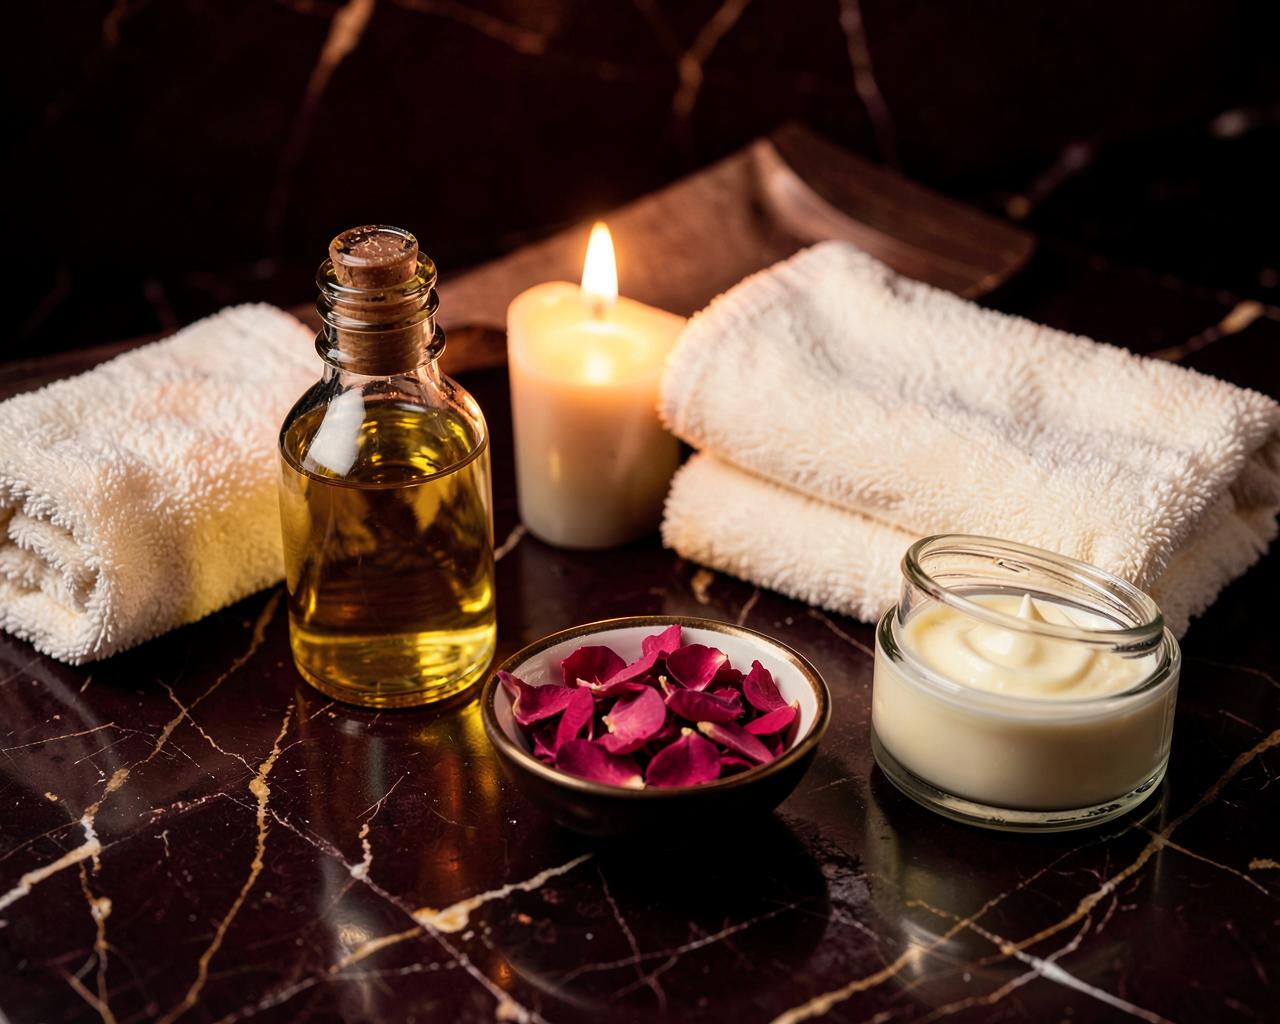
Warm water, a fine pumice on the heel and outer edge, then a rich cream massaged in and left for twenty minutes before you shoot — not right before, or the skin will read as greasy under a highlight. Hydrated skin catches light in a continuous gradient; dry skin fragments it.
Nails should be short, evenly shaped and finished with either a clean nude or a deep, saturated colour. Chipped lacquer is the single most common ruin of an otherwise good picture, and no amount of editing rescues it convincingly.
Wear loose shoes for an hour beforehand and remove any socks fifteen minutes before shooting. Elastic marks take about that long to disappear.
Step two: styling with one idea
Choose a single idea per set and commit to it: bare and morning-lit, stockinged and nocturnal, heeled and graphic. Mixing ideas in one series is how a set stops feeling like an editorial and starts feeling like a camera roll.
Accessories should be quiet. A thin gold anklet, the strap of a shoe half-removed, a fold of satin. Anything that pulls attention away from the line of the foot should leave the frame.
If you are shooting nylon feet, choose sheer over opaque and check the toe seam before every frame. A twisted seam is visible in the photograph long before it is visible to you.
Step three: choose one surface
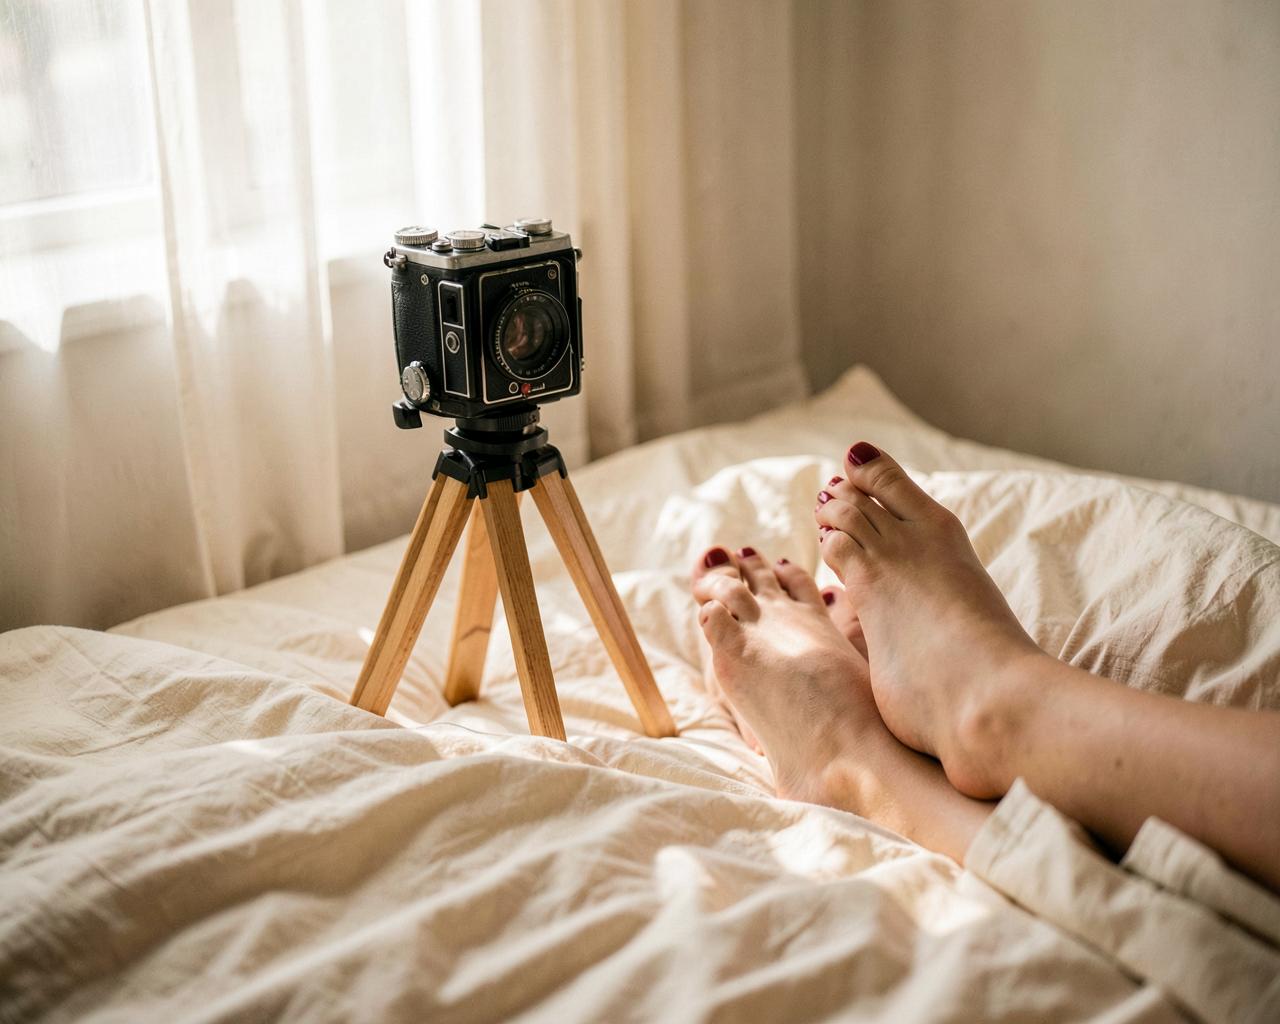
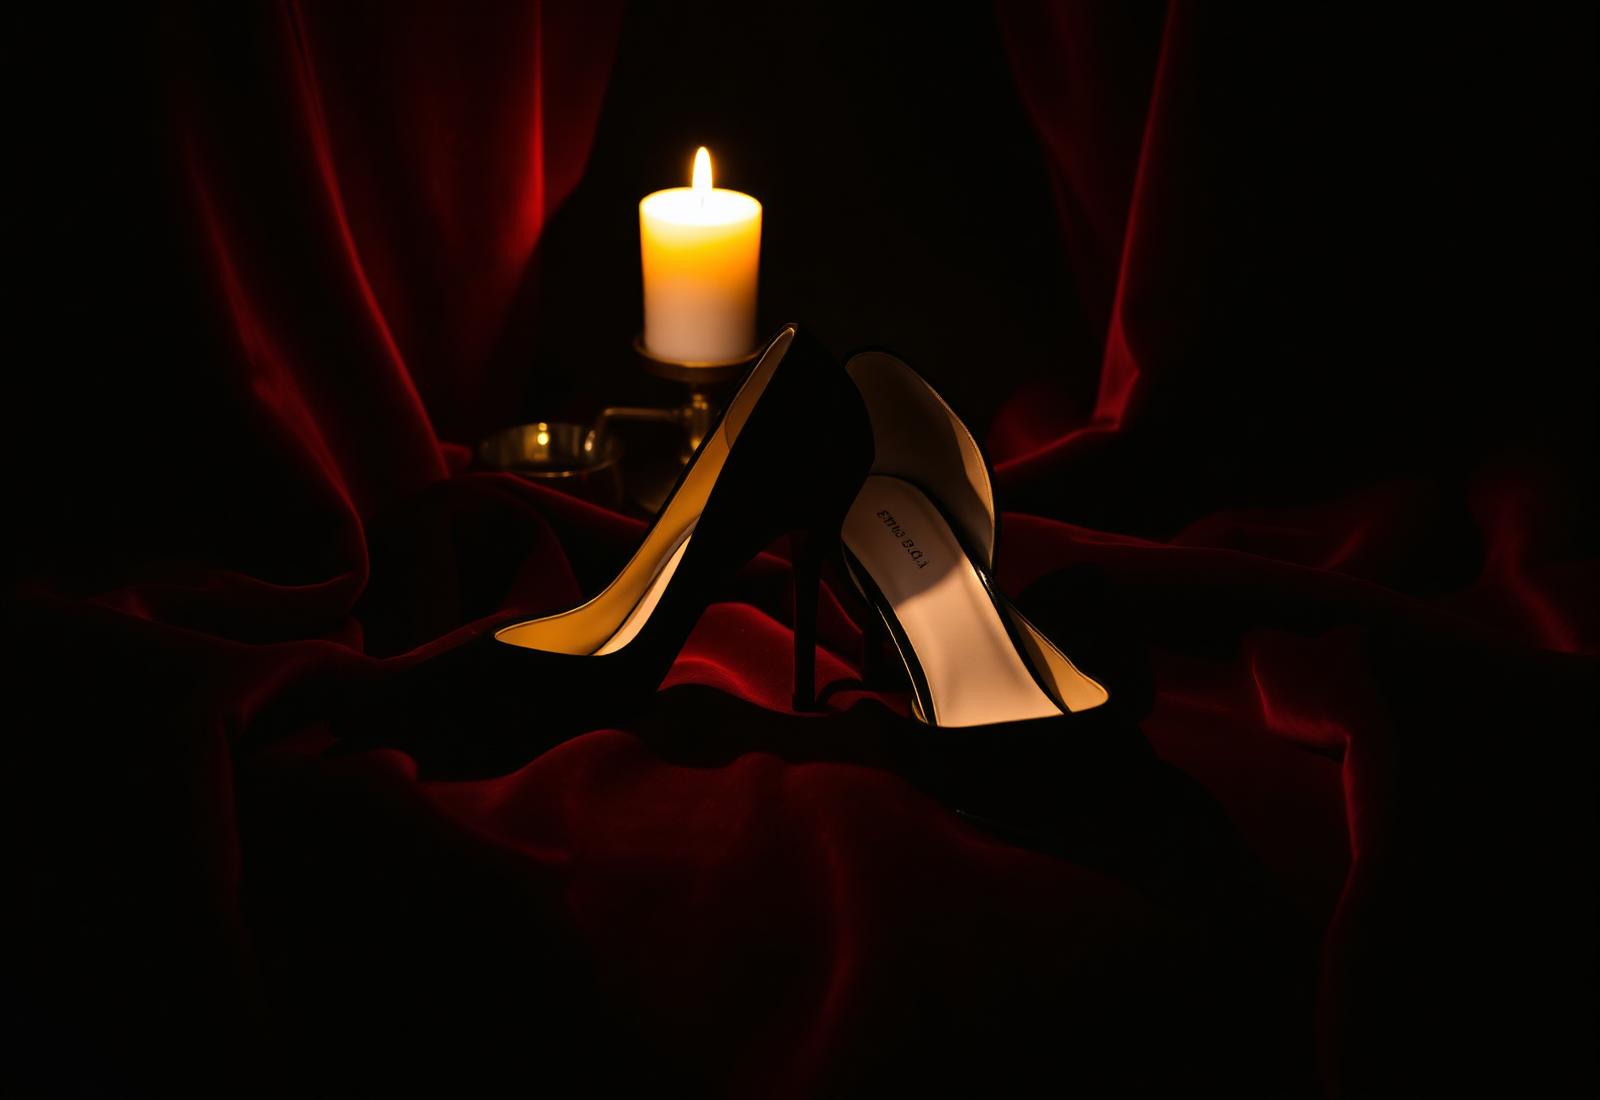
Four surfaces cover almost everything: ivory linen for softness, black marble or a dark tile for graphic reflection, crushed velvet for depth, and a plain painted wall for pure shape. Pick one and stop.
The background should be at least a metre behind the foot where possible, so it falls out of focus and turns into tone rather than detail. In a small room, a dark throw over a chair does this well.
Remove everything that says 'domestic': radiators, cables, laundry, the corner of a plastic bin. Photographs are read at the edges as much as at the centre.
Step four: the ten-frame sequence
I shoot the same ten frames every time, and it makes selection quick and honest. One: full profile, both feet, camera low. Two: same, toes pointed. Three: single foot, three-quarter angle. Four: sole, camera square on, light raking from the side. Five: sole, angled so the toes overlap the heel. Six: top of foot from above, tight. Seven: ankle and instep with the texture in frame. Eight: detail of the toes only. Nine: motion — the foot leaving a shoe. Ten: a wide, atmospheric frame with the surroundings.
Shoot each frame three times and change one thing between takes: the toe tension, the rotation, or the distance of the light. Almost always, the second version is the one that works.
Keep two or three. Sophisticated feet pictures are a product of ruthless selection more than of technique; publishing everything is what makes a good set look average.
Step five: publishing carefully
Export at a sensible resolution, strip EXIF data, add a discreet watermark to anything public, and keep your originals offline. Never publish an image containing a recognisable address, a document, a mirror reflection or a distinctive window view.
Decide in advance which images are public and which belong to a private, adult-only collection, and never let that line move image by image. A clear boundary is what allows a public journal to stay elegant and a private space to stay private.
Detail plates
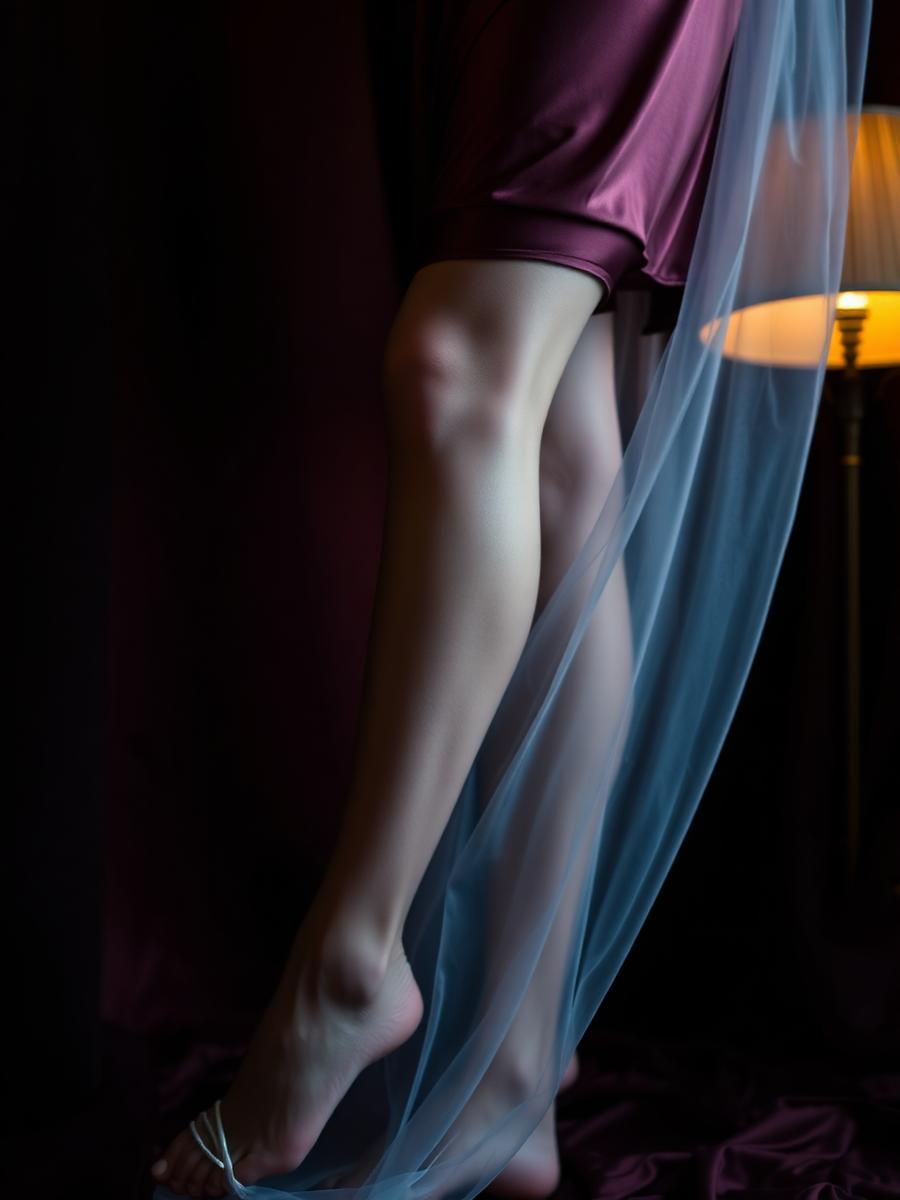
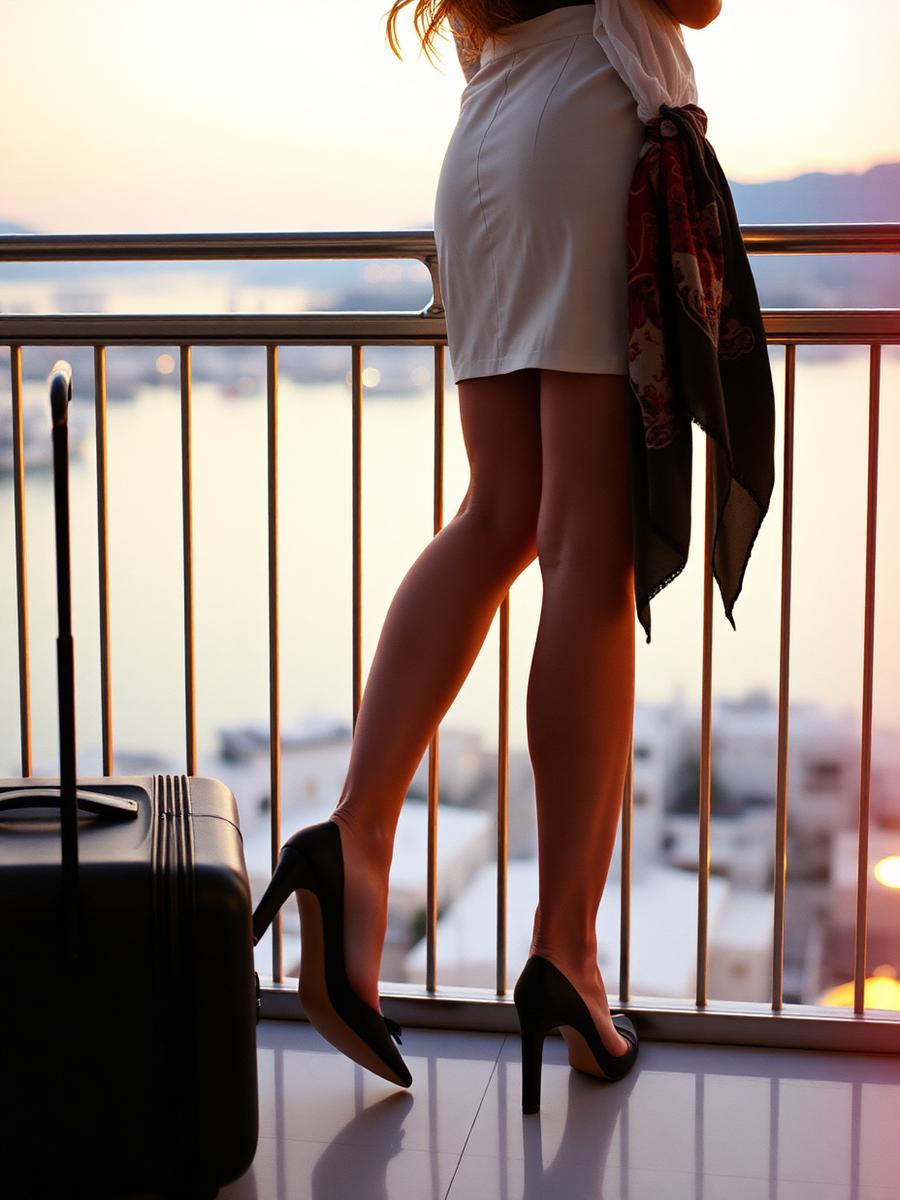
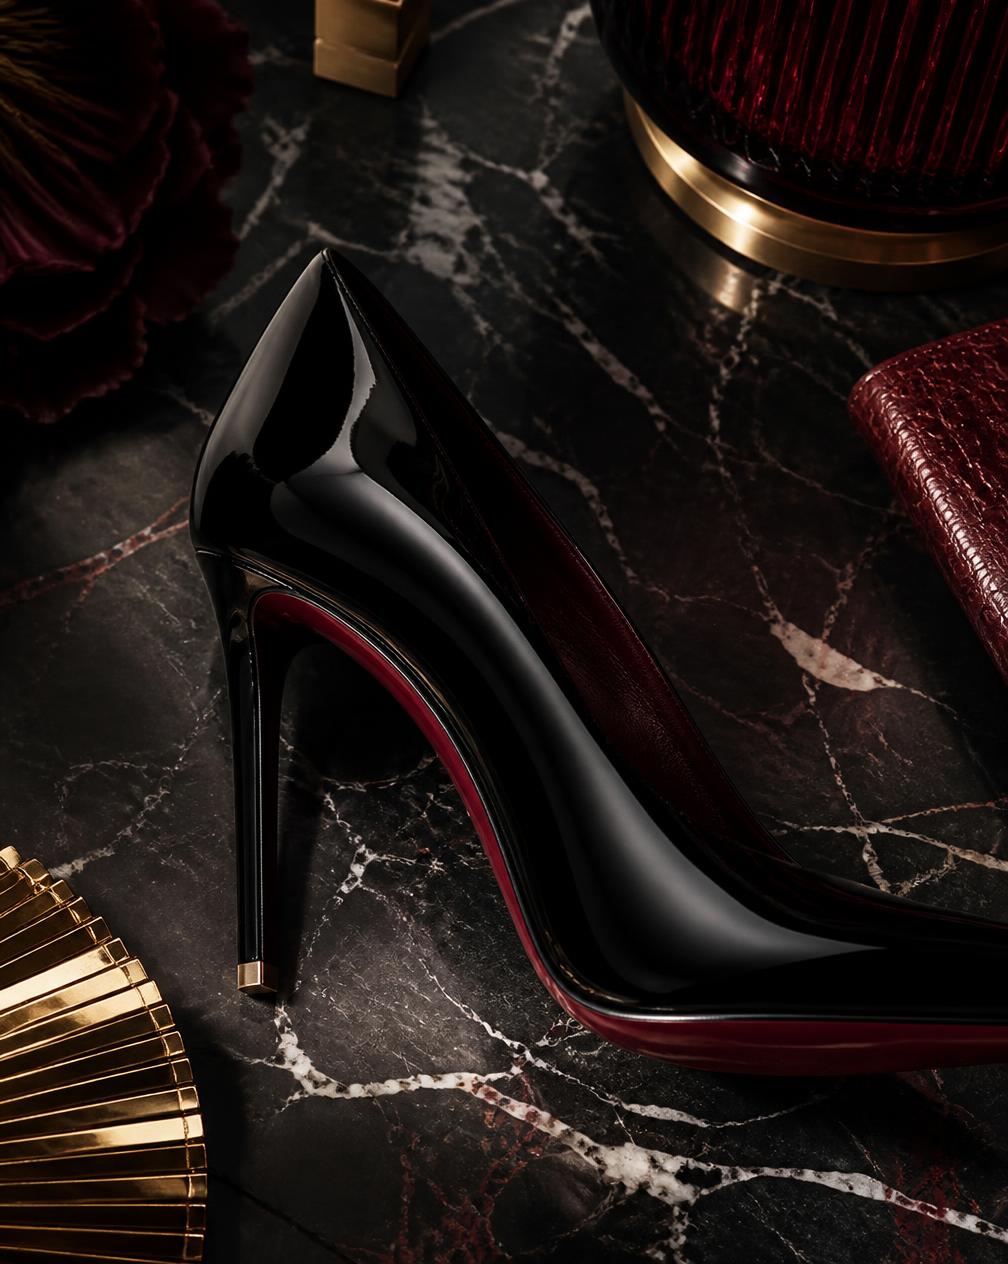
Watermark-free previews, published without metadata.
Questions readers ask
- How long does a good feet photo session take?
- About twenty minutes of preparation and twenty minutes of shooting. Preparation is what separates a beautiful set from an ordinary one.
- Which nail colour photographs best?
- A deep red or a clean nude. Both hold their shape under strong side light; pastels tend to go grey in shadow.
- How do I keep personal information out of my pictures?
- Strip EXIF metadata before publishing, avoid mirrors, windows with identifiable views, documents and any visible address, and watermark public previews.
See more of Eva
Discover Eva's private collection
18+ — My private spaces are reserved for adults. The public part of this site contains no nudity and no sexually explicit content.
By Eva
Eva, 38, secretary, petite and naturally feminine. Passionate about refined pedicures, high heels, nylon and tasteful photography. Personal attention, custom content and a discreet private journey.
About EvaContinue reading
The private letter
One letter a month: a new story, a behind-the-scenes note and one photograph that never appears on the site.
Adults only. No spam, no sharing of your address, one click to unsubscribe.