Pedicure Rituals
The Foot Care Ritual Behind Every Photograph
By Eva · Published 4 September 2026 · Updated 5 September 2026 · 6 min read
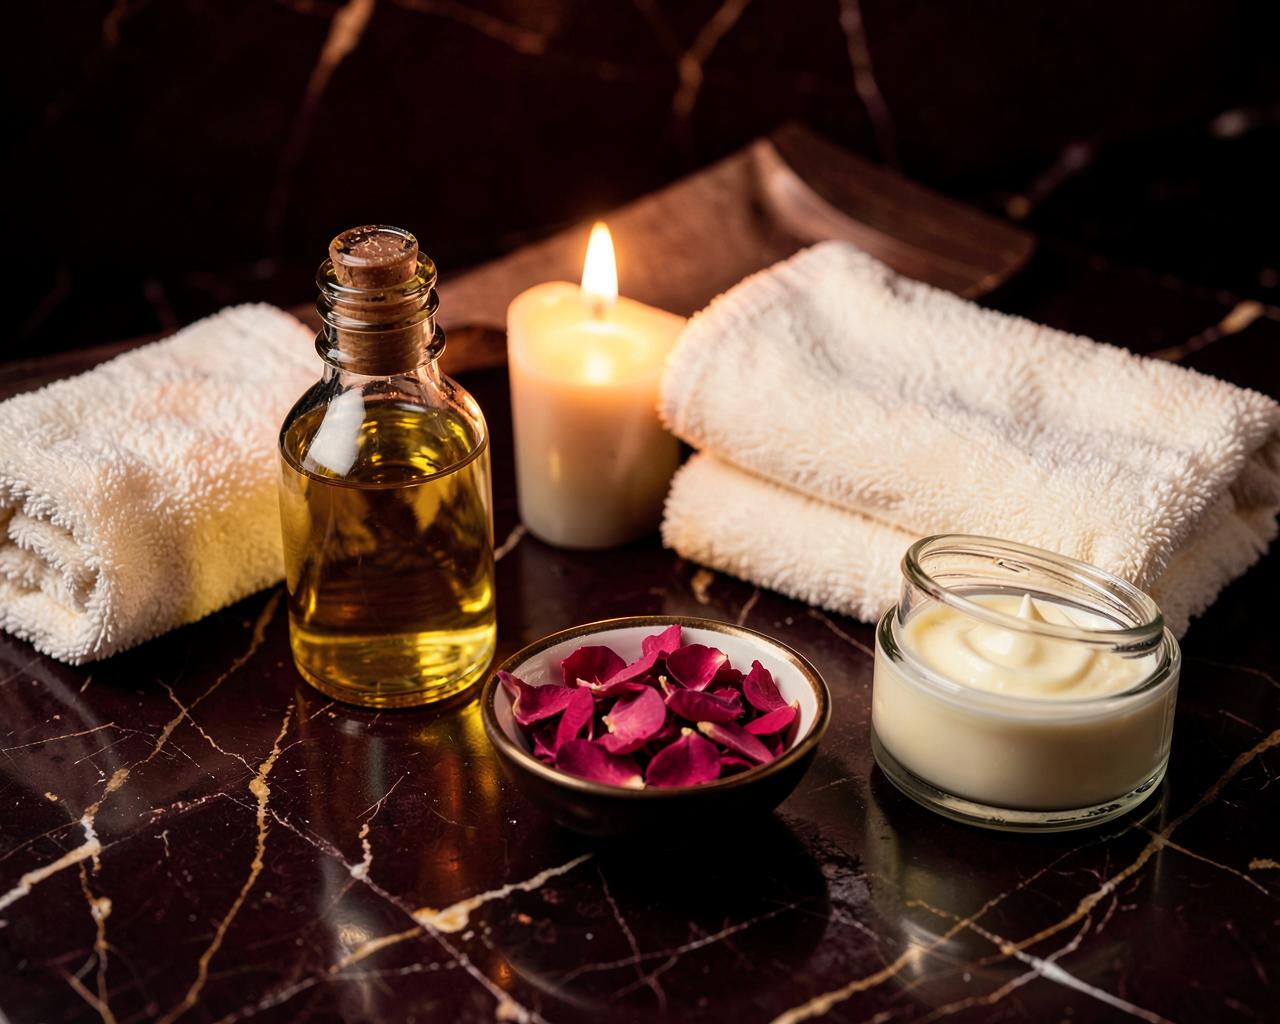
Every photograph in this journal rests on something no reader ever sees: a slow, repetitive, entirely unglamorous care routine that runs whether or not a camera is coming out that week. Skin that catches light in one continuous gradient is not luck — it is hydration accumulated over days. Heels that stay elegant on camera are heels that were allowed to recover. This is the full ritual as I actually practise it: the weekly session, the daily minimum, the oils I keep, the massage that matters more than any cream, and the recovery discipline that high heels demand in return for what they give.
Why care is visible in a photograph
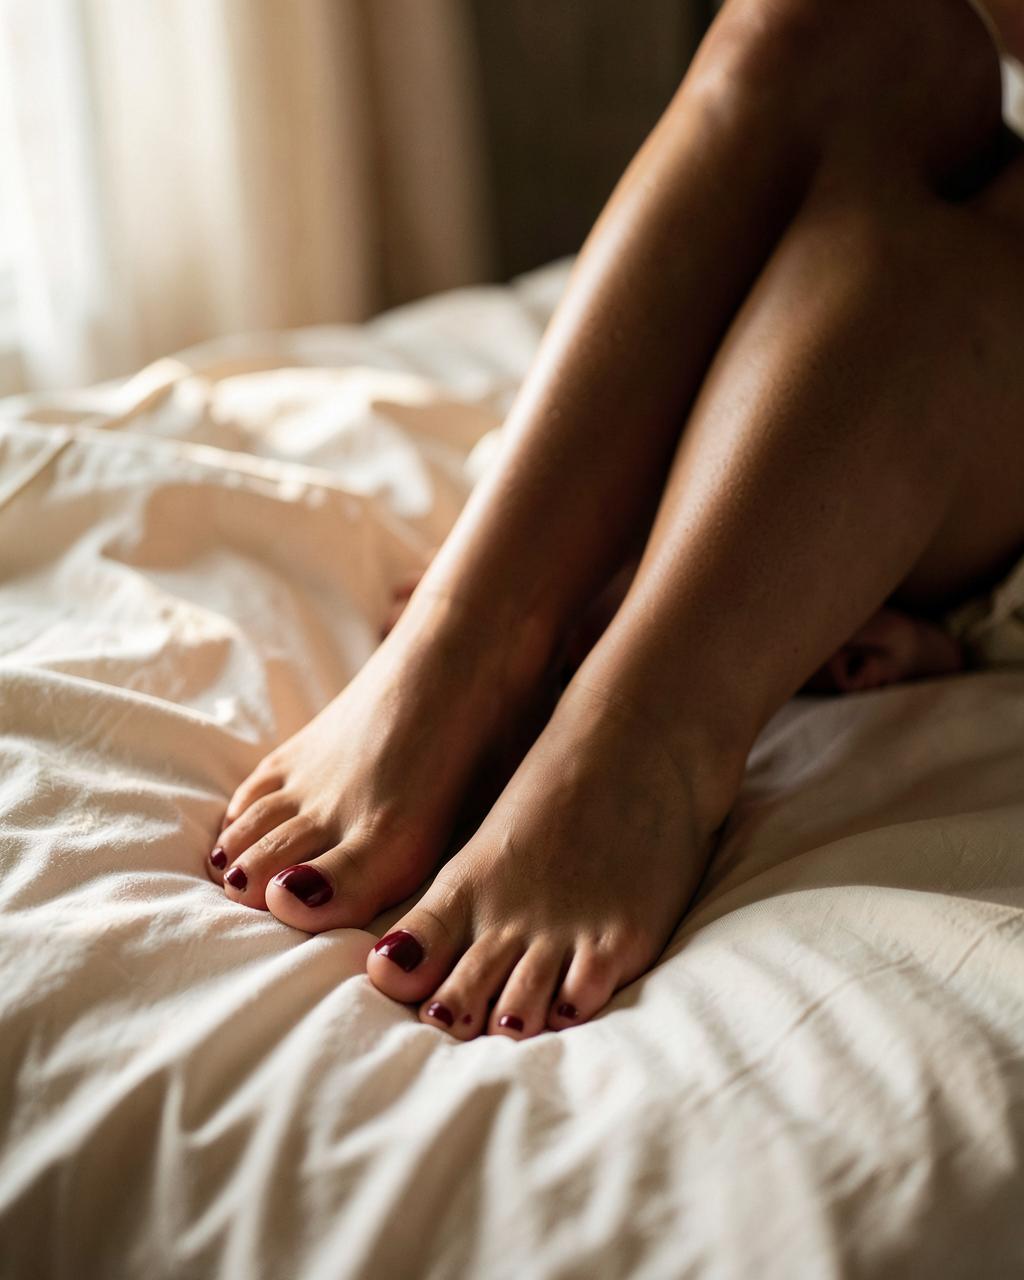
Hydrated skin behaves like satin under light: it returns one smooth, continuous gradient from highlight to shadow. Dry skin behaves like paper — it fragments that gradient into hundreds of tiny bright edges, and at close range the camera records every one of them. This is the entire reason care precedes technique in my practice. No lighting setup rescues a dehydrated heel, and no editing does either without making the skin look plastic.
The places that betray neglect are predictable: the outer edge of the heel, the pad beneath the big toe, the dry band across the ball of the foot, and the cuticle line. Those four areas take about ninety percent of my attention, because they are exactly where side light lands hardest in an arched pose.
The corollary is encouraging. Because care is cumulative, results are not dependent on doing anything difficult — only on doing something small very regularly. Three consistent weeks visibly change how a foot photographs; one heroic two-hour session before a shoot does almost nothing.
The weekly session, step by step
Once a week, a warm soak of ten to fifteen minutes with a spoon of coarse salt and a few drops of almond oil. Warm, not hot — hot water strips the skin and leaves it tighter than before. The soak is not decorative: it softens keratin so exfoliation removes dead cells instead of abrading living ones.
Then exfoliation, gently and only where it is needed: a fine pumice or a glass file on the heel and the outer edge, twenty to thirty passes in one direction, never a metal blade and never until the skin feels raw. Aggressive filing triggers thicker regrowth within days, which is how people end up trapped in a cycle of ever-harder heels.
Rinse, dry thoroughly between the toes, then push back the cuticles with a wooden stick — never cut them. Cut cuticles inflame and photograph as a red line around an otherwise perfect nail. Finish with a rich urea or shea cream, cotton socks, and sleep. Occlusion overnight is what turns a good cream into a visible result.
The daily minimum, and the oils I keep
Daily care is two minutes: cream or oil after the evening shower, worked in from the heel toward the toes, plus a second lighter pass in the morning if the day involves closed shoes. Consistency beats quantity — a thin layer every day outperforms a thick layer twice a week by a wide margin.
Three products cover everything I need. A urea-based cream, around ten percent, for the heels — it dissolves hardened keratin chemically so the file has less to do. A plain sweet almond or jojoba oil for the instep and ankles, because oil gives the low satin sheen that photographs beautifully while cream can leave a matte film. And a light glycerin lotion for mornings, which absorbs fast enough not to slip inside a shoe.
What I avoid: heavy silicone balms, which look glossy in person and strangely grey on camera, and anything with visible glitter or shimmer, which reads as dust under a side light and takes a long time to retouch out.
Massage: the step most people skip
Five minutes of massage per foot does more for how a foot looks than any product, because most of what reads as tension in a photograph is genuinely tension. Thumbs along the arch from heel to ball, slow circles under the ball of the foot, then each toe gently rotated and pulled. Finish by pressing the whole sole against a cold marble surface or a chilled bottle for thirty seconds.
The visible payoff is twofold. Circulation gives skin a warm, even colour rather than the bluish tone that appears after hours in shoes, and relaxed tendons let the arch hold a pointed pose without cording. A foot that has been massaged simply takes direction better in front of a camera.
This is also the part of the ritual I refuse to rush, and not for photographic reasons. I spend my working days as a secretary in shoes chosen for how they look rather than how they feel, and these five minutes are what makes the next day possible.
Recovery: what high heels cost and how I pay it
Heels shorten the calf, load the ball of the foot and, over a long day, leave marks that photograph as pressure lines for hours afterwards. The correction is not to stop wearing them but to schedule around them. I never photograph feet on the evening of a full day in stilettos; the frames look tired and the skin colour is wrong, and no light fixes either.
My recovery routine is short and non-negotiable: shoes off within minutes of getting home, feet raised above hip level for ten minutes, calves stretched against a wall for a minute each, then cream and socks. Marks from straps fade in about forty minutes with elevation, and in a few hours without it.
I also rotate heel heights across the week rather than wearing the same pair daily, and I keep photography days after rest days rather than after long ones. That scheduling is the least visible and most important part of this entire ritual — a well-planned week shows in a photograph more clearly than any product on the shelf.
Detail plates
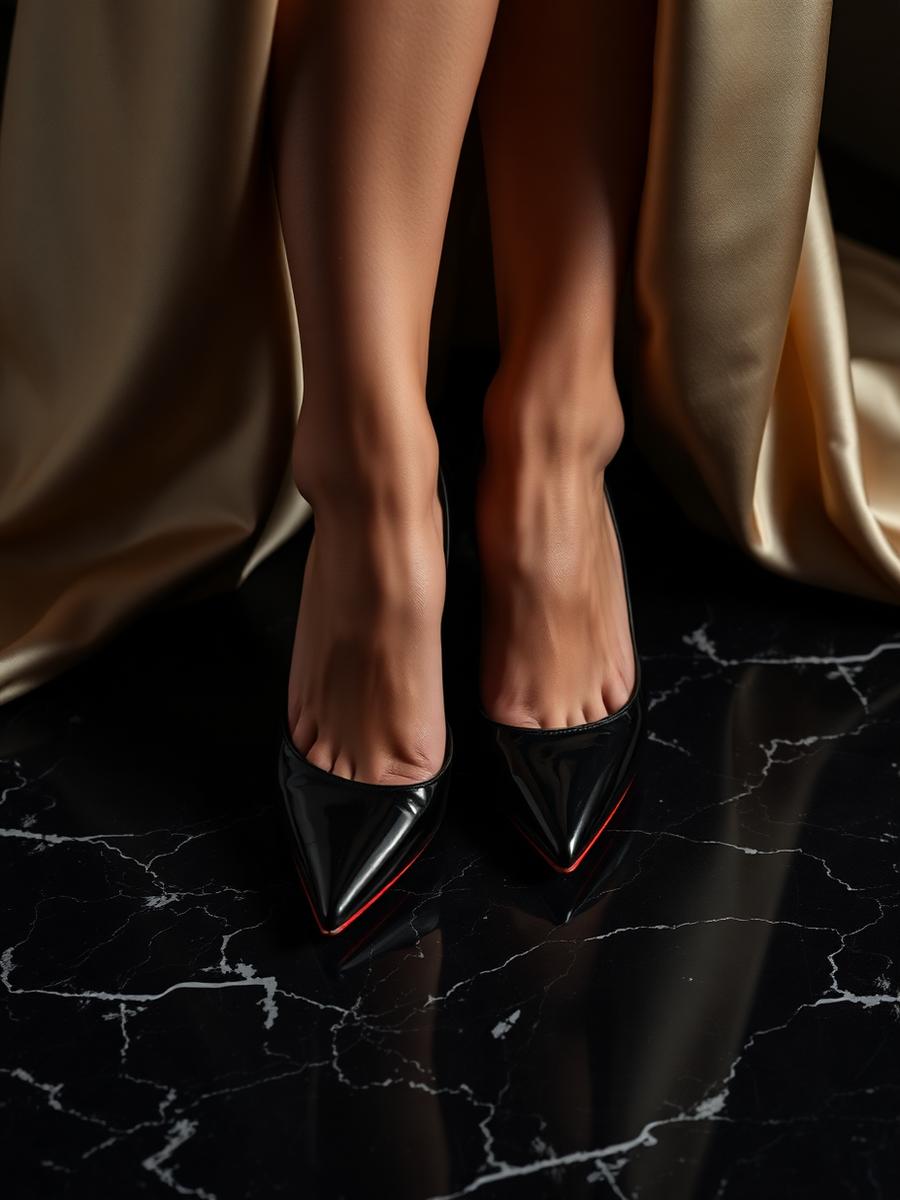
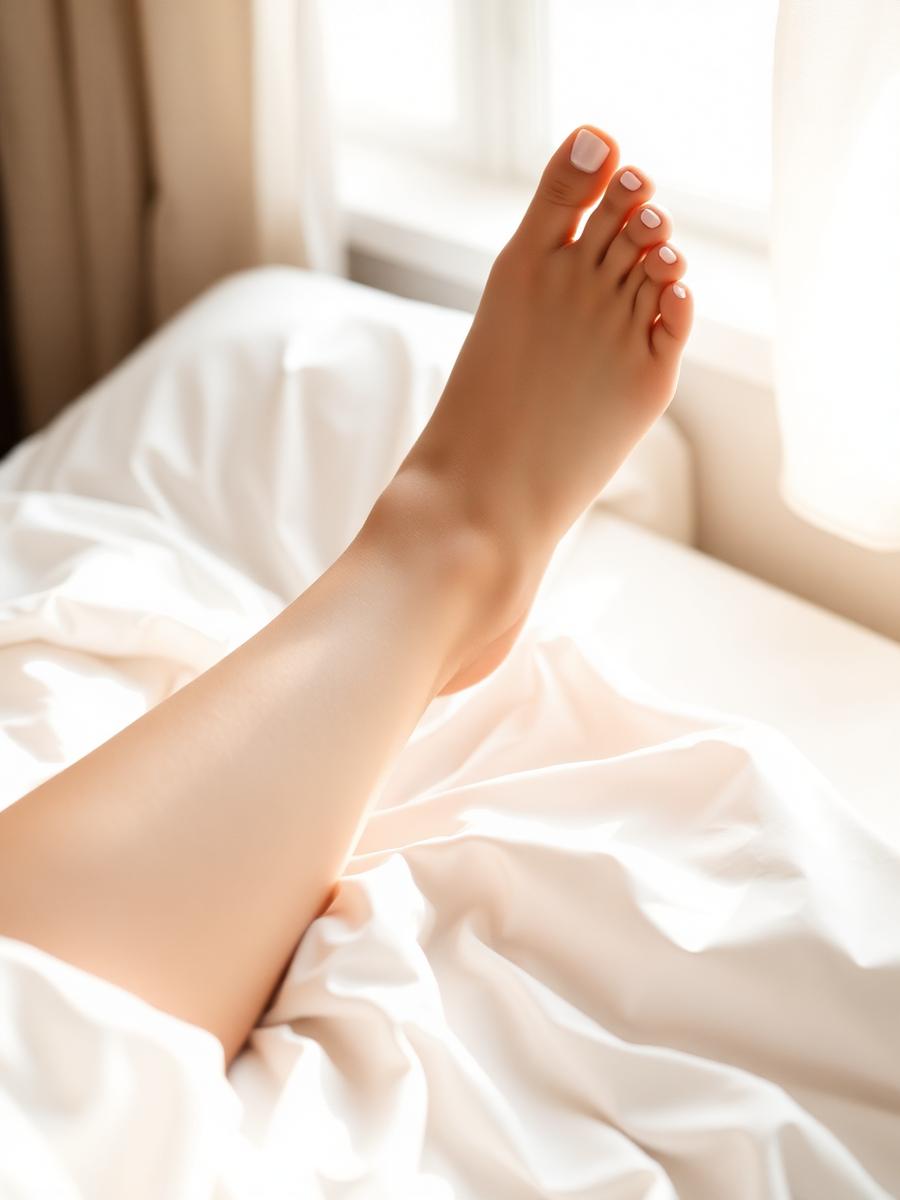
Watermark-free previews, published without metadata.
Questions readers ask
- How often should I exfoliate my feet for photography?
- Once a week, gently, with a fine pumice or glass file after a warm soak. Aggressive or frequent filing triggers thicker regrowth and makes heels harder over time.
- Cream or oil for feet that photograph well?
- Both. A urea cream on the heels dissolves hardened keratin, and a plain almond or jojoba oil on the instep gives the low satin sheen that reads beautifully under side light.
- How long do heel marks take to fade before a shoot?
- About forty minutes with the feet elevated above hip level, several hours without. I never photograph on the evening of a full day in stilettos.
See more of Eva
Discover Eva's private collection
18+ — My private spaces are reserved for adults. The public part of this site contains no nudity and no sexually explicit content.
By Eva
Eva, 38, secretary, petite and naturally feminine. Passionate about refined pedicures, high heels, nylon and tasteful photography. Personal attention, custom content and a discreet private journey.
About EvaContinue reading
The private letter
One letter a month: a new story, a behind-the-scenes note and one photograph that never appears on the site.
Adults only. No spam, no sharing of your address, one click to unsubscribe.