Pedicure Rituals
The Pedicure Ritual Behind Photogenic Feet
By Eva · Published 3 September 2026 · Updated 4 September 2026 · 6 min read
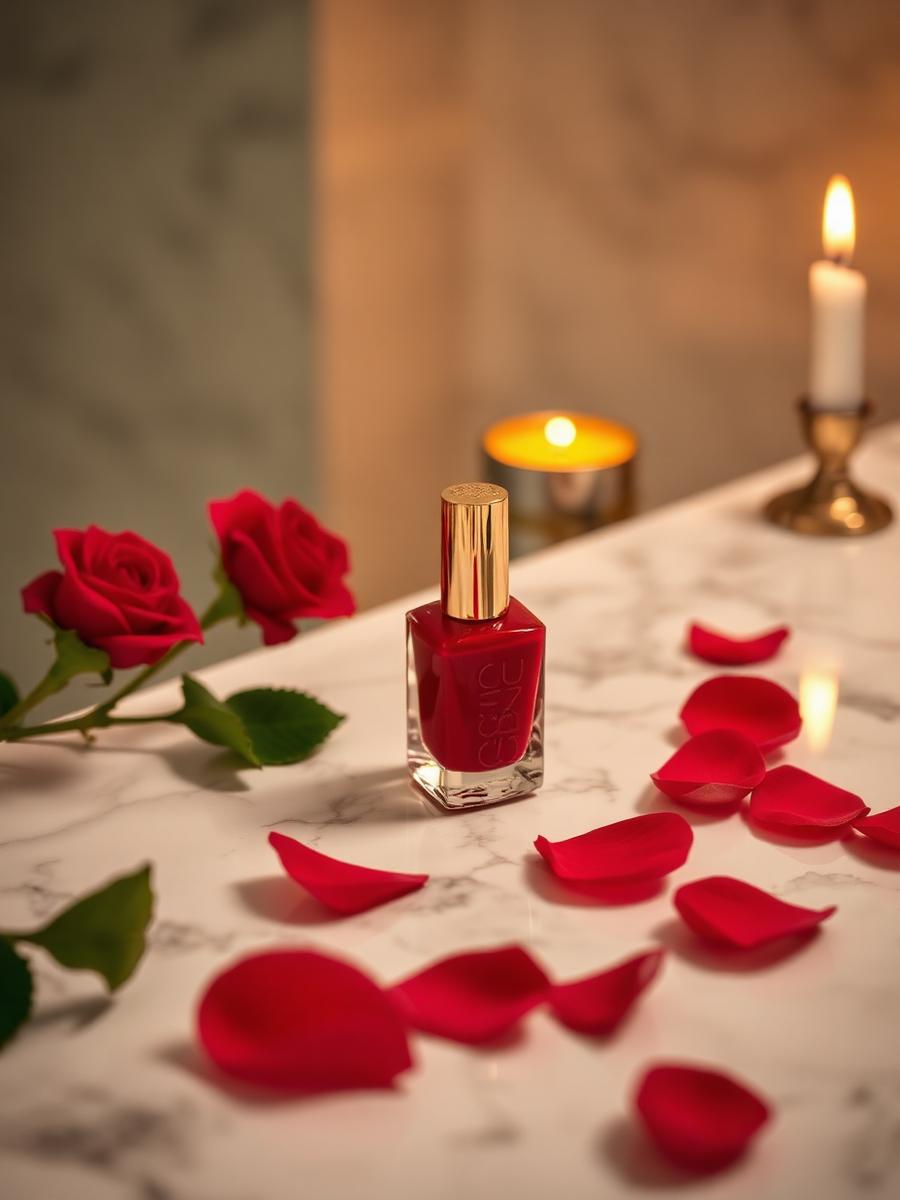
Every photograph on this journal begins two days before the camera comes out. A pedicure done well is invisible in the final image; a pedicure done badly is the only thing anyone sees. Lacquer that lifted at the edge, a cuticle catching a highlight, a heel that reads dry under side light — the lens is merciless about all of it. This pillar piece is the complete ritual I follow before a shoot: what I do, in what order, how long each stage needs to settle, and which colours survive being photographed on velvet, marble and nylon.
Why a pedicure decides the photograph
A camera sees at a scale the eye ignores. At the distances I work — thirty to sixty centimetres from the foot — a millimetre of ragged edge becomes a visible fault line, and a matte patch of dry skin turns into a grey shadow that no amount of retouching removes convincingly.
The reverse is also true, and it is the reason the ritual is worth the hours. A properly conditioned foot reflects light in one continuous gradient, from the heel to the ball to the toes. That gradient is what people read as luxury, long before they identify a colour or a shoe.
So the pedicure is not vanity, it is preparation. It belongs to the same craft as the lighting method described in my piece on elegant feet photography: both exist to give the eye a clean surface and a single line to follow.
The ritual, stage by stage
Soak for ten minutes in warm water with a spoon of coarse salt and a few drops of almond oil. Longer than that and the skin swells, which makes filing inaccurate. This is the only stage I never shorten.
File the heel and the outer edge dry, not wet, with a fine-grit file, in one direction. Wet filing tears; dry filing shapes. Stop while the skin still feels like skin — over-filing creates a shine that photographs as plastic.
Push the cuticles back with a soft stick, never cut them. A trimmed cuticle regrows with a visible ridge in about four days, which is exactly when most shoots happen. Then buff the nail plate lightly so lacquer has something to hold.
Shape the free edge square with rounded corners. On camera, a pointed toenail exaggerates the toe and breaks the line of the foot; a square-oval keeps the toes reading as a row rather than five separate objects.
Lacquer: colour, coats and patience
Base coat, two thin colour coats, one glossy top coat, with a full ten minutes between each. Thick coats look thick — they pool at the cuticle and catch a hard highlight that draws the eye to exactly the wrong place.
Colours that photograph well are the deep and the near-neutral: bordeaux, oxblood, true red with a blue undertone, black cherry, and a warm ivory for lighter compositions. Colours that fight the camera are pastels, which go chalky, and anything with heavy glitter, which turns into noise under side light.
Gloss reads as jewellery, matte reads as fabric. I keep a matte finish for velvet and nylon compositions and a high gloss for marble and patent leather. Both work; mixing both in one series does not.
Then the least glamorous rule of the whole ritual: wait. Lacquer looks dry in twenty minutes and is genuinely hard after twelve hours. I lacquer the night before a shoot, sleep with my feet uncovered, and touch nothing in the morning.
Maintenance between shoots
Urea cream at ten percent on the heel every night, a richer balm twice a week, and cotton socks over the balm once a week. Consistency does more for the skin than any single intensive treatment.
I keep the feet out of very hot showers, which strip them, and out of unlined heels for long days, which builds the exact callus pattern that files badly. That is a small daily discipline, and it is why I can shoot on short notice.
Hydrate the skin, but never oil it immediately before a shoot. Fresh oil creates specular hotspots that blow out on camera. Balm the night before, then nothing but a dry cloth on the day.
Shoot day: the last twenty minutes
Twenty minutes before the first frame I sit with my feet raised. Blood settles out of the toes, veins recede, and the skin tone evens out — this single habit removes more retouching than any editing preset.
I check three things under the actual shooting light, never under a ceiling lamp: the cuticle line, the free edge of each nail, and the outer curve of the heel. Anything that catches a highlight there gets one pass of a fine buffer.
Then the shoes go on last, and only for the frames that need them. If you want the geometry that follows, read why high heels make feet look elegant — the pedicure is what allows a bare frame to sit next to a shoe frame in the same series.
Detail plates
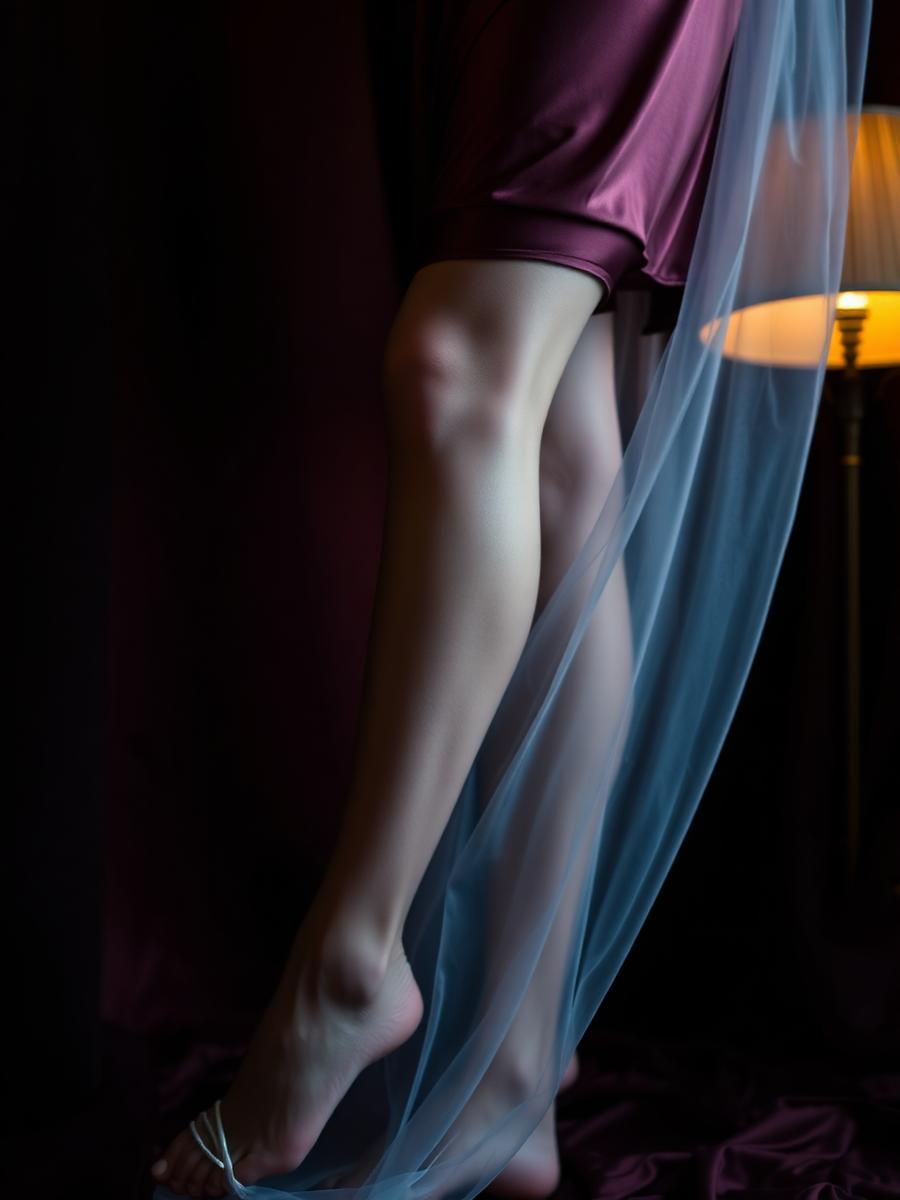

Watermark-free previews, published without metadata.
Questions readers ask
- How long before a photo shoot should I do a pedicure?
- Lacquer the night before, twelve hours ahead. Do the filing and cuticle work two days before, so any redness has time to settle.
- Which nail colour photographs best on feet?
- Deep bordeaux, oxblood and blue-based reds, plus warm ivory for lighter sets. Avoid pastels and glitter, which go chalky or noisy under side light.
- Should cuticles be cut before photographing feet?
- No. Push them back with a soft stick. Cut cuticles regrow with a visible ridge within days, which the camera picks up immediately.
See more of Eva
Discover Eva's private collection
18+ — My private spaces are reserved for adults. The public part of this site contains no nudity and no sexually explicit content.
By Eva
Eva, 38, secretary, petite and naturally feminine. Passionate about refined pedicures, high heels, nylon and tasteful photography. Personal attention, custom content and a discreet private journey.
About EvaContinue reading


The private letter
One letter a month: a new story, a behind-the-scenes note and one photograph that never appears on the site.
Adults only. No spam, no sharing of your address, one click to unsubscribe.